Results 1 to 6 of 6
Thread: WIP: 12m Merbau and Brush fence
-
23rd April 2007, 11:40 PM #1
 WIP: 12m Merbau and Brush fence
Guys, I've finally come to build my merbau and brush fence after establishing what was used on a similar fence (https://www.woodworkforums.com/showthread.php?t=46215)
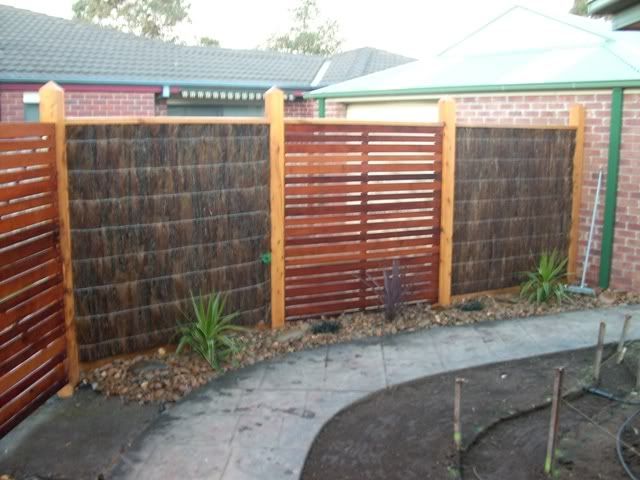
The fence will be aprox 12m long on a sweeping bend running alongside my path, a gate will also be in the middle. The fence will consist of 6 panels alternating between 3 merbau (1.8mx1.8m) and 3 brush (1.8mx1.8m)
The materials i'll be using are;
120lm Merbau (70x19)
5 x (125x125) 2.7m Cypress post shaved 4mm
2 x (125x125) 2.4mCypress post
18lm (70/45) cut into 9 x 2mTreated pine
3 x (90/45) 1.8m treated pine
12lm (70/35) cut into 1.8m treated pine
3 x 1.8x1.8m 40mm Brush panels
Now this is my first ever project - being a young first home buyer so Please if there is anything i can learn from all the experince on here feel free to let me know as no doubt i'll be doing things the long and hard way .
.
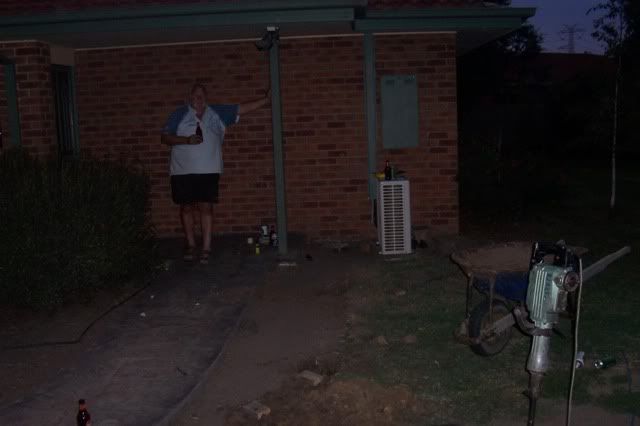
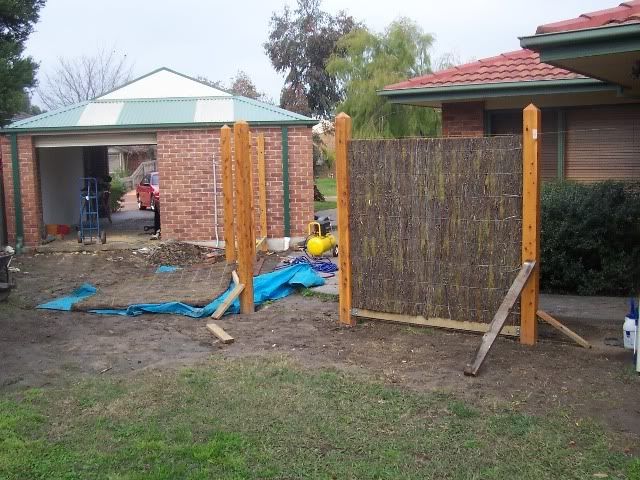
The 5 holes are dug using my neighbour (pictured below) jag hammer, there aprox 600mm deep by 400mm wide. The other 2 end post which will be on each end of the fence will be dyna bolted to my brick work. As you can see in the photo i've still got to finish the garage which i recently built with my mate but thats another story.
Question 1: Whats the best size dynabolt to use for the 2 posts (2.4m high). I was going to use 3 per post and hopefully drill them into the middle of the brick being wirecuts and missing the empty holes in them.
Question 2: The other 5 post will be put in the ground and holes filled with quick set. Should i be putting a little bit of quickset under the post first?
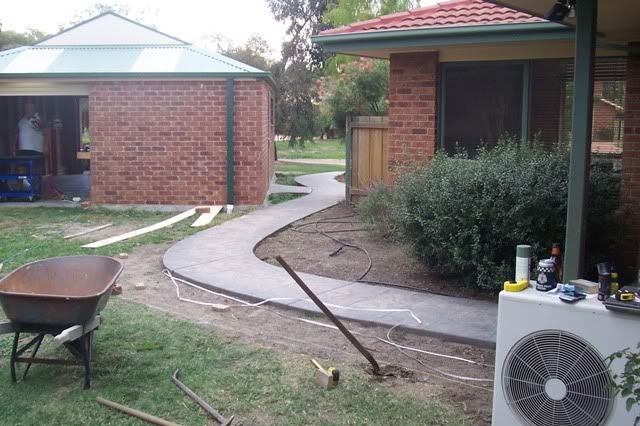
Here's the start to give you an idea of the shape and length, the bobcat was doing another project i have on the go.
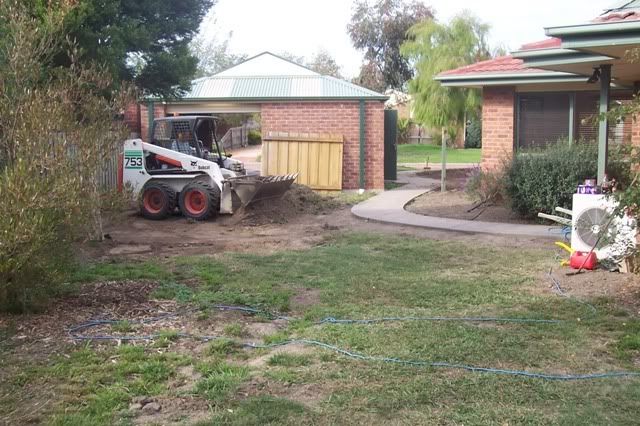
And this is the other end, the fence will go in between the green post and the air con. That's my neighbour having a drink after watching me dig ALL the holes.
-
23rd August 2007, 11:21 AM #2

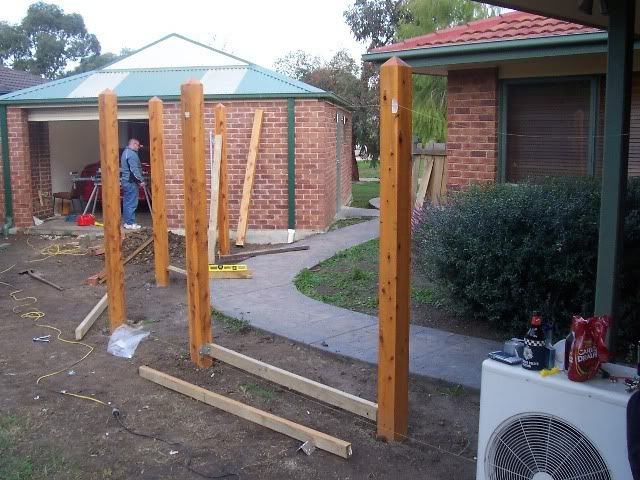
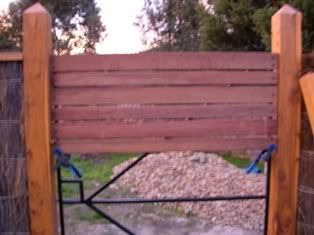
Ok guys, a bit of an update, the fence is complete well almost. Iíve been away a lot for work so unfortunately I havenít had time to post progressive updates. So Iíll just show you the complete fence with a couple of WIP shots.
<?xml:namespace prefix = o ns = "urn:schemas-microsoft-com ffice
ffice ffice" /><o
 ></o
></o >
>
I ended up finishing the fence without too much trouble however being the Ďfirst timeí for practically everything including using a power saw I was fairly happy with the outcome and hopefully has given me the confidence to do other projects on my first house.
<o ></o
></o >
>
Any advice or comments would be greatly appreciated. Although I donít post often I certainly read all relevant post on here which has helped greatly with this project, so thank you.
-
24th August 2007, 09:30 AM #3

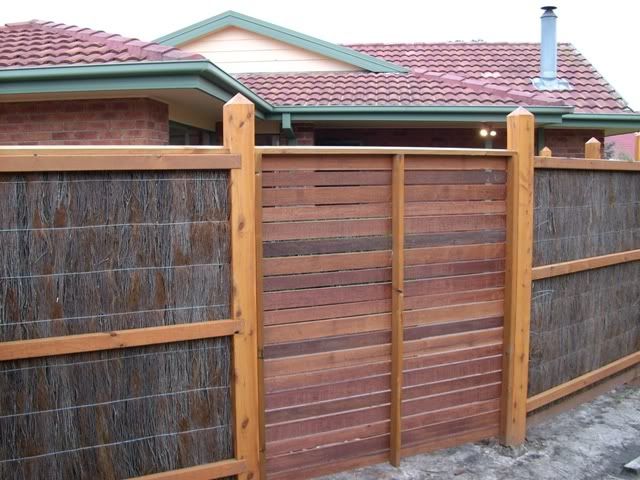
Here's some of the final pictures

-
24th August 2007, 03:08 PM #4
 Hack
Hack


- Join Date
- Aug 2006
- Location
- Perth, WA
- Posts
- 38

If my dog wouldnt rip that to pieces Id get you to come build one at my place. Looks great!
Just keep practicing, make lots of mistakes, and then learn from them.
Also gives you a good excuse to buy some new tools.
-
24th August 2007, 03:36 PM #5

Thanks mate, your right about making mistakes and learning from them. I only realised after the last back rails that if i drill heaps of holes and then use the chisel its a lot quicker than chisling it all from scratch and splitting the post.
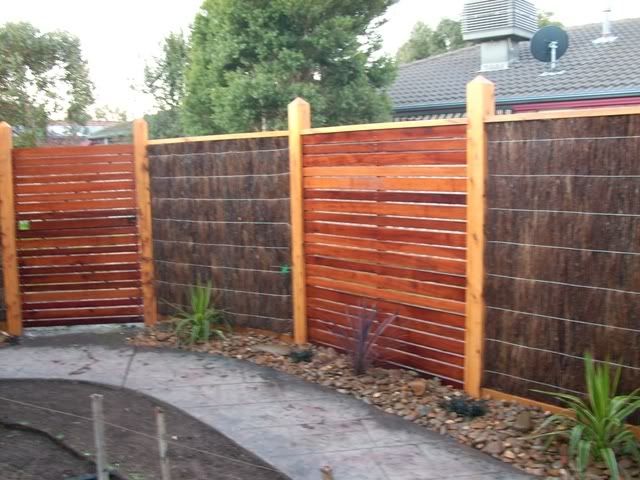
Here's a few with the new plants

-
23rd February 2008, 03:31 PM #6
 Novice


- Join Date
- Oct 2007
- Location
- Mornington VIC
- Posts
- 5
 Great Job
You did a fantastic job of replicating the original fence by the way. Well done!


 Reply With Quote


Bookmarks