

 Thanks: 1
 Likes: 7
 Needs Pictures: 0
 Picture(s) thanks: 4
Results 1 to 12 of 12
Thread: Notch Weatherboard- Best method
-
20th February 2020, 05:00 PM #1
 Member


- Join Date
- Jun 2013
- Location
- Brisbane
- Posts
- 89
 Notch Weatherboard- Best method
Hi all,
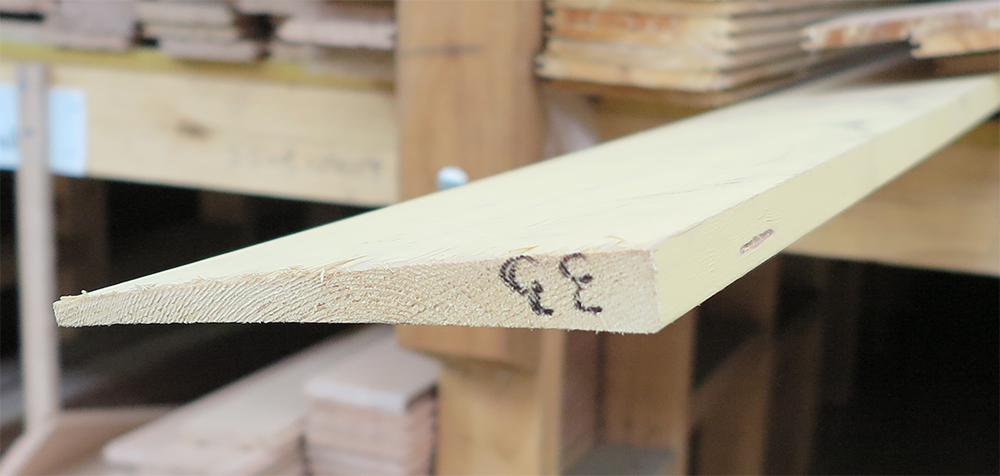
I'm looking to clad a couple of bay windows on my Queenslander with notched weatherboards. Only problem is no one in Brisbane seems to sell these anymore.
With this being the case I thought I would have a go at making them myself using my spotted gum standard angle profile weatherboards.
How would one best achieve this look using a router? I have a triton router and a router table. I thought about using a V-Groove bit but I think that will leave a rounded bottom.
The only thing I can really think of is to somehow exit the cut on some kind of ramp/slant type jig to get the point of the V to 'drag out' if you will.
The bottom (thickest) part of the board is 25mm.
Any suggestions greatly appreciated.

-
20th February 2020, 08:09 PM #2
GOLD MEMBER
- Join Date
- May 2011
- Location
- Murray Bridge SA
- Posts
- 2,956
Are you wanting to put that particular V shape into your Weatherboard?
If you were to stack your boards on the angle required, it should be a simple matter then of running your router along a straight edge. You may need to put offcuts from your boards in between, so that they are all the same angle. Depending on how many boards you need to do, the jig could be fairly simple, or elaborate.
HTH
KrynTo grow old is mandatory, growing up is optional.
-
21st February 2020, 12:50 AM #3
Member
- Join Date
- Jun 2013
- Location
- Brisbane
- Posts
- 89
Hi Kryn, thanks for the reply. Originally Posted by KBs PensNmore

My photo isnt the clearest, but the notch doesnt go all the way through. So if you looked at the board from the back it would look like a standard board. Or have I misunderstood your method?
-
21st February 2020, 08:30 AM #4
GOLD MEMBER
- Join Date
- Jul 2015
- Location
- Hunter Valley
- Age
- 56
- Posts
- 1,302
This might sound completely bonkers, so forgive me if so.
But looking at the notch you want to cut, it strikes me that a corner chisel will cut this easily. You make up a jig to hold the chisel at the correct angle, and also provide a stop position for the board, thus ensuring all your notches start at the same height on the board, and are a consistent angle.
Placement can be done by measuring and marking the board.
If this is confusing (it's hard to describe in text), let me know, I will sketch up a picture of what I mean.
-
21st February 2020, 09:28 AM #5
GOLD MEMBER
- Join Date
- Jul 2011
- Location
- In between houses
- Posts
- 1,744
Router, in a jig, carbitool make a v cutter with a sharp point . Easy.
-
5th March 2020, 09:16 PM #6
SENIOR MEMBER
- Join Date
- Oct 2005
- Location
- North Balwyn Victoria
- Age
- 73
- Posts
- 502
Hi, These notches were originally hand cut with a saw. On a reno I did years ago, I made a hardwood guide block & cut them with a tenon saw. Tedious, but effective. Peter
-
25th April 2020, 07:40 AM #7
Member
- Join Date
- Jun 2013
- Location
- Brisbane
- Posts
- 89
Thanks for everyone's replies.
I went the router and jig option. I could have increased the angle of the jig slightly to make a 'shorter' notch but I'm pretty happy with how they turned out. Here's a few pics for reference if anyone ever wants to do the same.
94223878_689431011860119_7673700853810724864_n (1).jpg
91500046_671521833595006_7913708926300848128_n.jpg
91561929_302986107342045_4541183748011458560_n.jpg
91593159_1646951092112920_2022103047139753984_n.jpg
91709971_231578338228321_2263008346887946240_n.jpg
93802317_628885084626316_8653994166658793472_n.jpg
94302368_226807751922371_2243906565738332160_n.jpg
93987975_666643364155498_1908821180173778944_n.jpg
94325481_161436411909926_4947398580886306816_n.jpg
-
25th April 2020, 10:37 AM #8
GOLD MEMBER
- Join Date
- Jul 2011
- Location
- In between houses
- Posts
- 1,744
Nice but that first picture of the domino teetering on the edge of the bench gave me chills. Someone kicks the lead or steps on it and you’ll be crying to the tune of $2000. Put your tools on the deck.
-
25th April 2020, 11:45 AM #9
SENIOR MEMBER
- Join Date
- Oct 2005
- Location
- North Balwyn Victoria
- Age
- 73
- Posts
- 502
Well done!! I have not seen the bell cast look before, impressive.
-
25th April 2020, 02:06 PM #10
GOLD MEMBER
- Join Date
- Mar 2018
- Location
- Sydney
- Posts
- 1,091
I thought you told me they were throw-away and not worth the money? Originally Posted by riverbuilder

-
25th April 2020, 03:33 PM #11
Member
- Join Date
- Jun 2013
- Location
- Brisbane
- Posts
- 89
Ha, fair point. If it was like that it means I was using it only seconds before and was just about to use it again. It normally goes on the ground when not in continued use. Originally Posted by riverbuilder
-
25th April 2020, 03:41 PM #12
Member
- Join Date
- Jun 2013
- Location
- Brisbane
- Posts
- 89
Thanks! I'm going for an overall arts and crafts look and I thought the flare might detract from that but I think I like it. You see them on a few Queenslander's from the 20's and I'm pretty sure that was the last time one was built in Brisbane so thought I'd set myself the challenge. Originally Posted by Repete
It was VERY time consuming. Every angle was different on two planes and because I'm thinking of keeping them as raw timber (arts and crafts) the joins had to be pretty spot on. It's also not the driest of timber so hopefully there's not too much movement. I used a single piece for the entire row so that if it did shrink it would be fairly uniform.
I've still got another one to go on the level above.


 Reply With Quote
