

 Thanks: 0
 Likes: 14
 Needs Pictures: 0
 Picture(s) thanks: 0
Results 1 to 15 of 41
-
6th April 2013, 10:58 PM #1Dave J Guest
 Making Dickson style quick change tool post holders (picture heavy)
Hi,
I have had 6 Dickson style holders for many years but didn't want to buy any more at $80 each over here, so I decided to make
my own. I did consider buying a wedge style from the US, but I would loose money on this one as it cost me $500 8 years ago.
I made these up last year but am just getting around to posting them now because of the house move. I am still yet to decide
what finish is going on them.
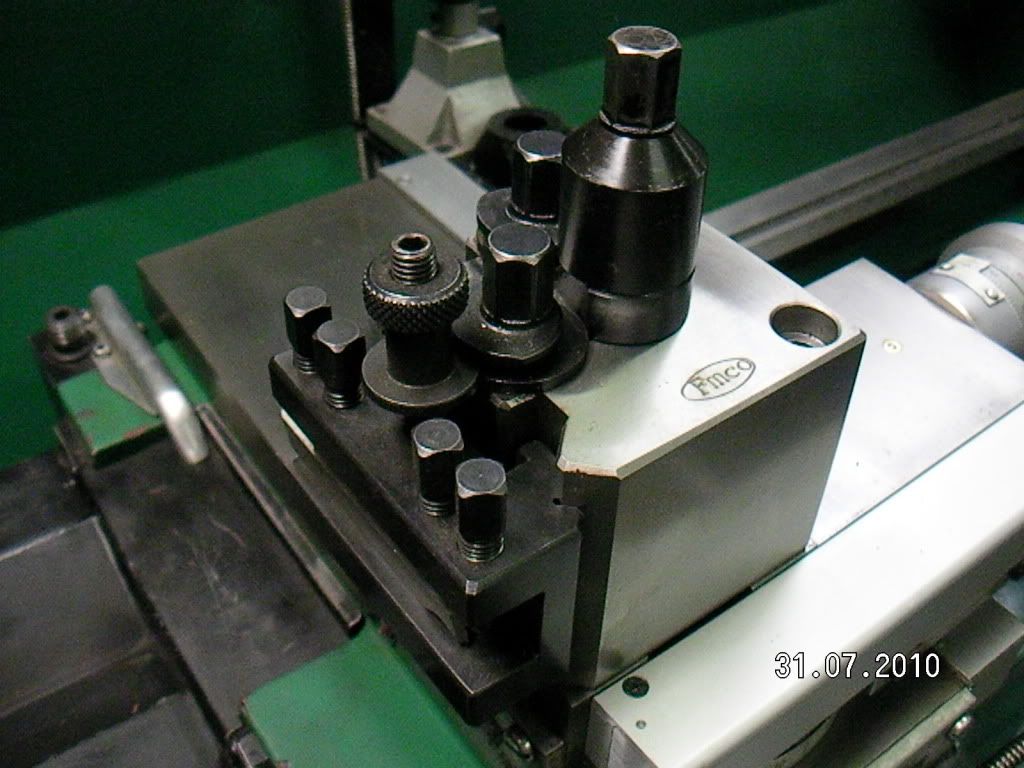
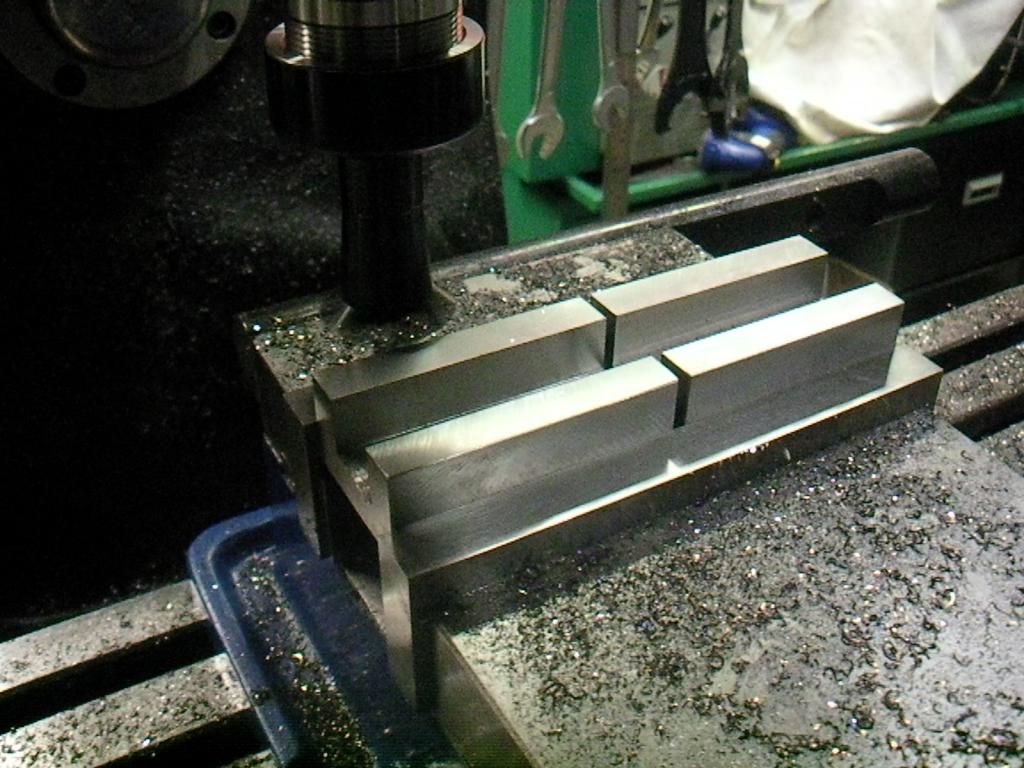
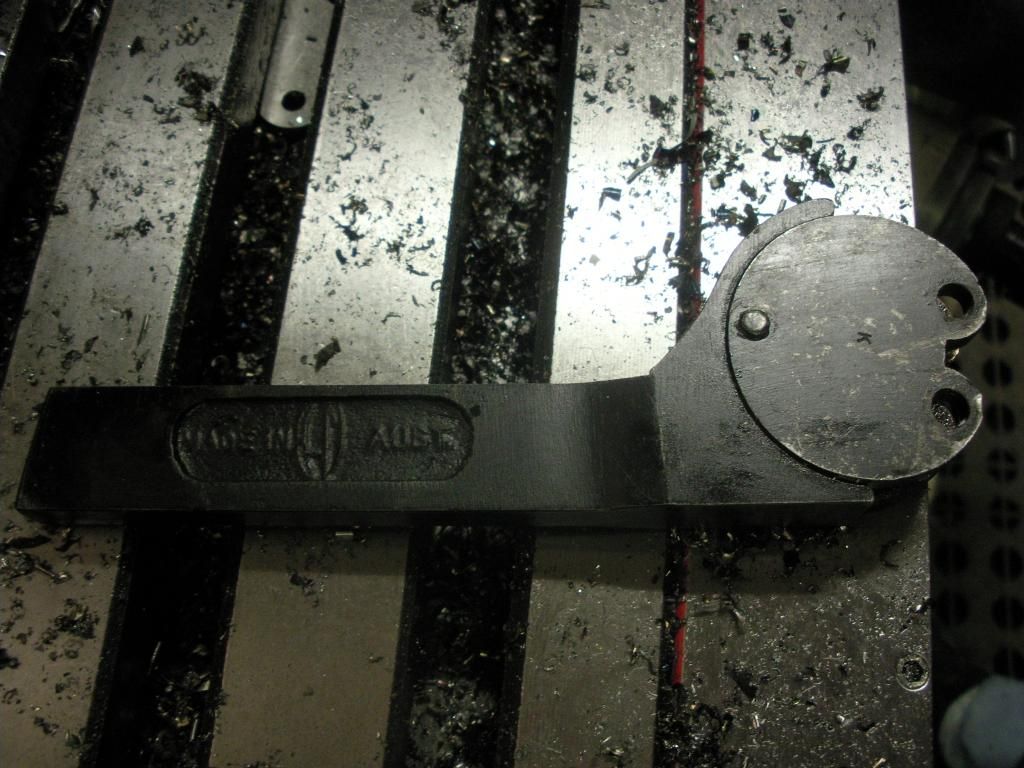
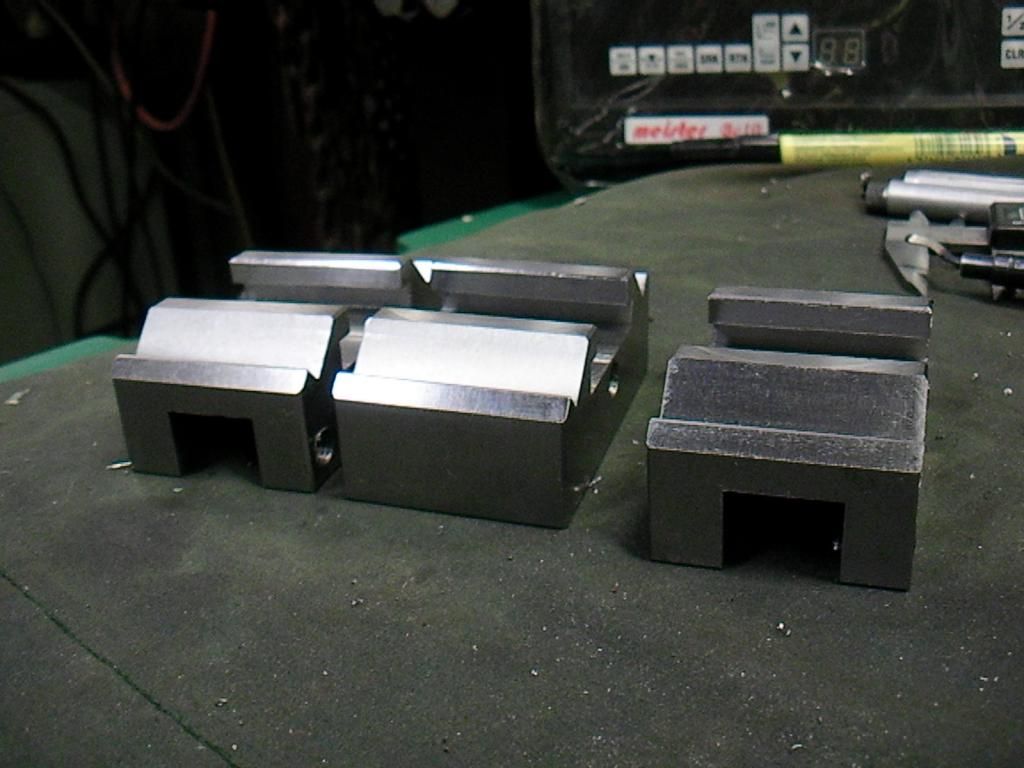
This is the Dickson style tool post, it has 2 V's and a slot where it is pulled back onto the V's via a cam action in the tool post, very simple really.
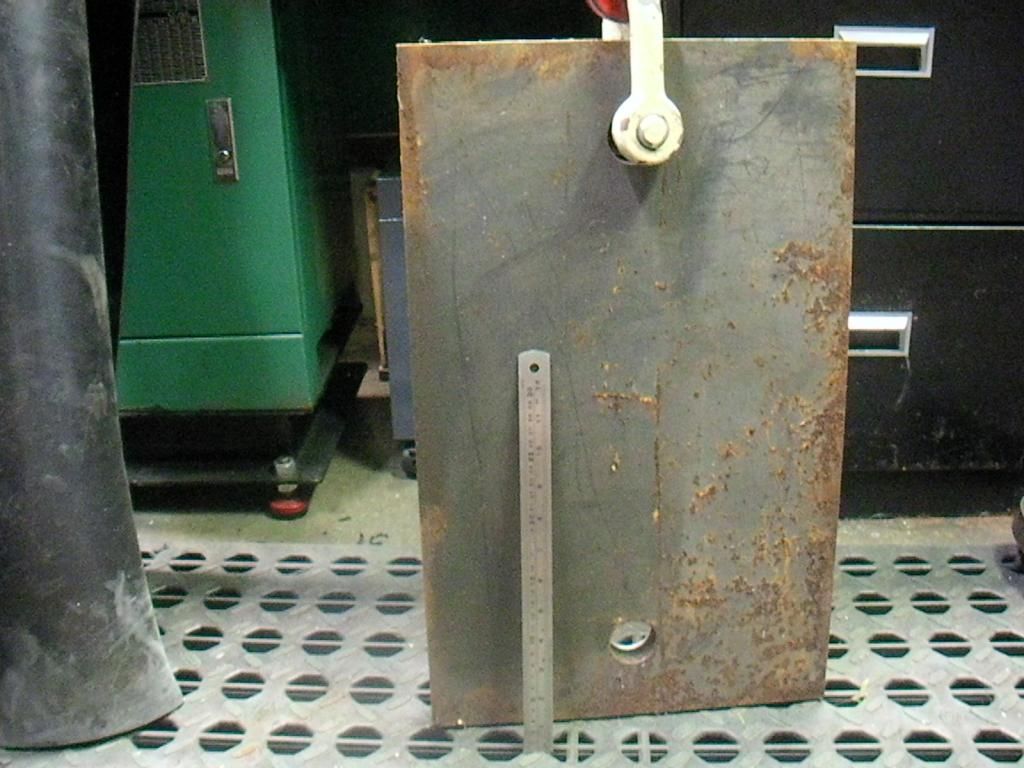
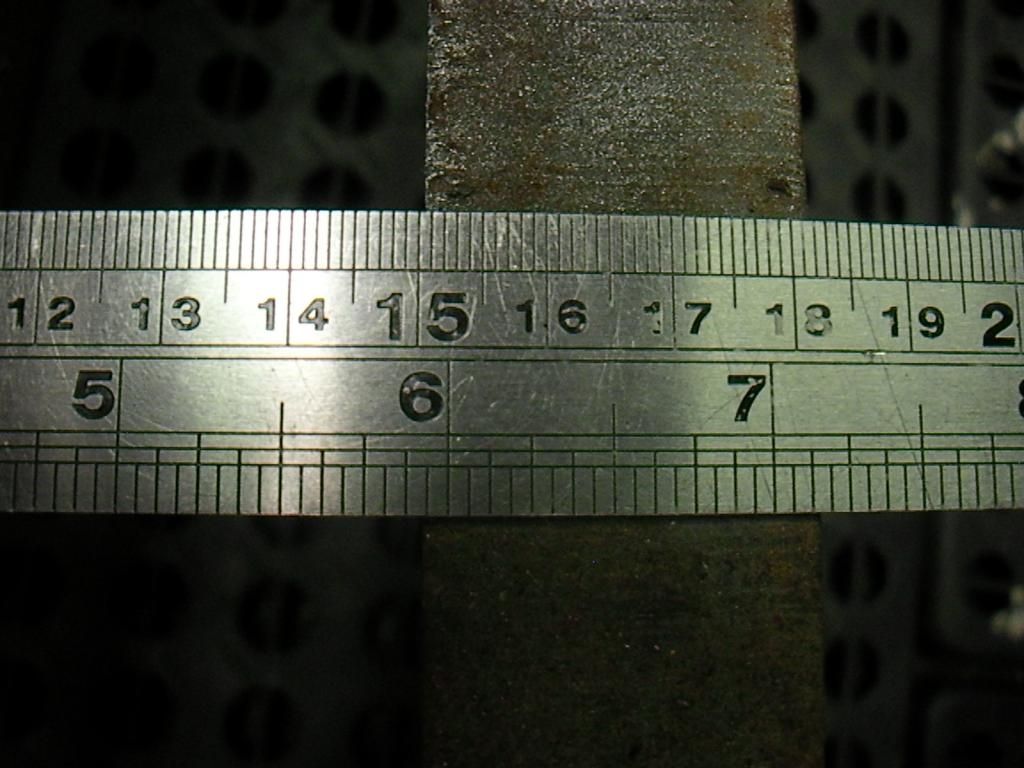
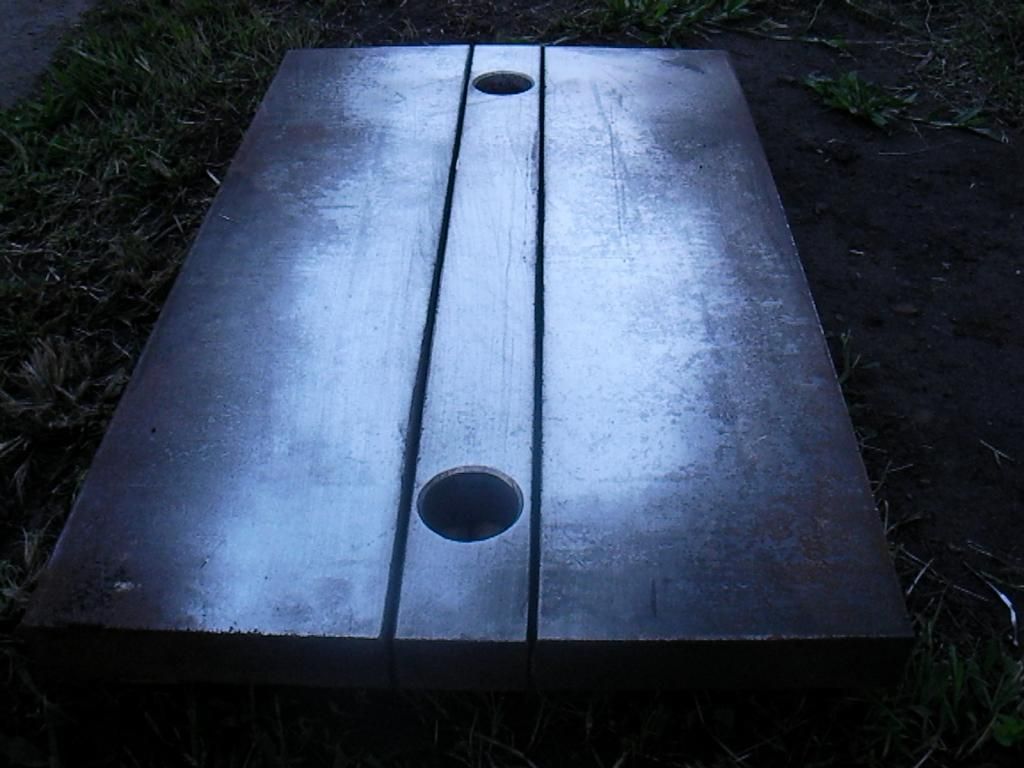
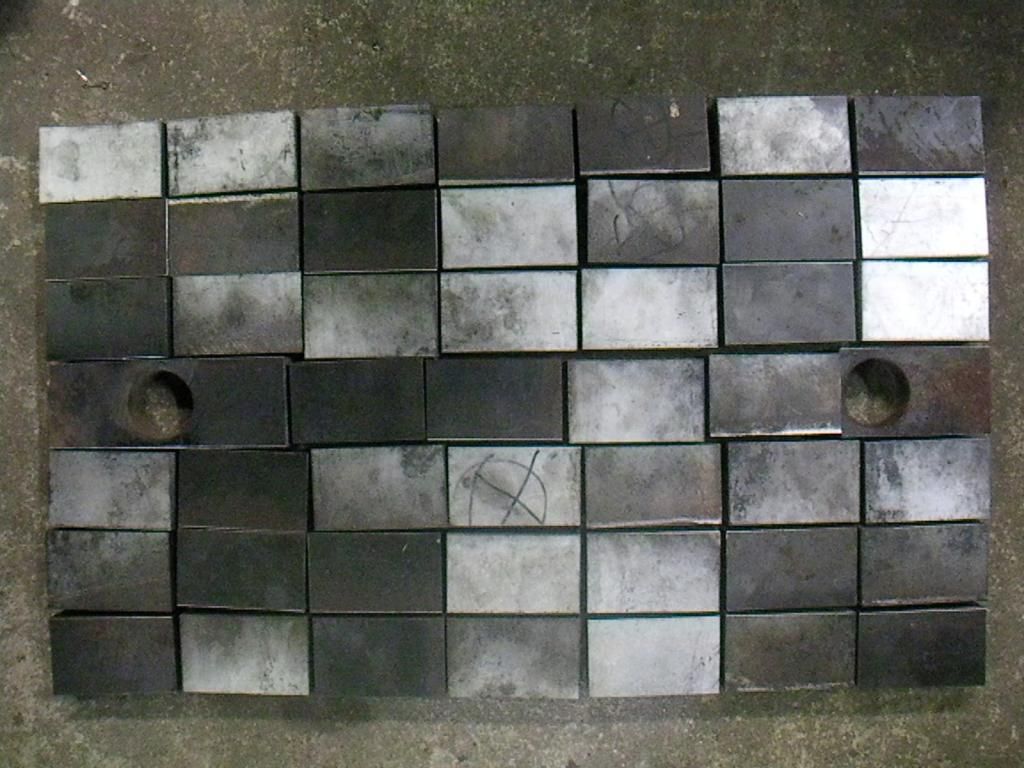
My mate gave me a piece of plate (column base of a large shed) a few years back and I have kept it for this purpose. It was
550 x 350 x 32mm thick and the tool holders are 31.75 deep so close enough to the thickness of the factory ones.
I had to cut it up but it wouldn't fit in the bandsaw so I put 2 cuts in it outside with the 9inch grinder.
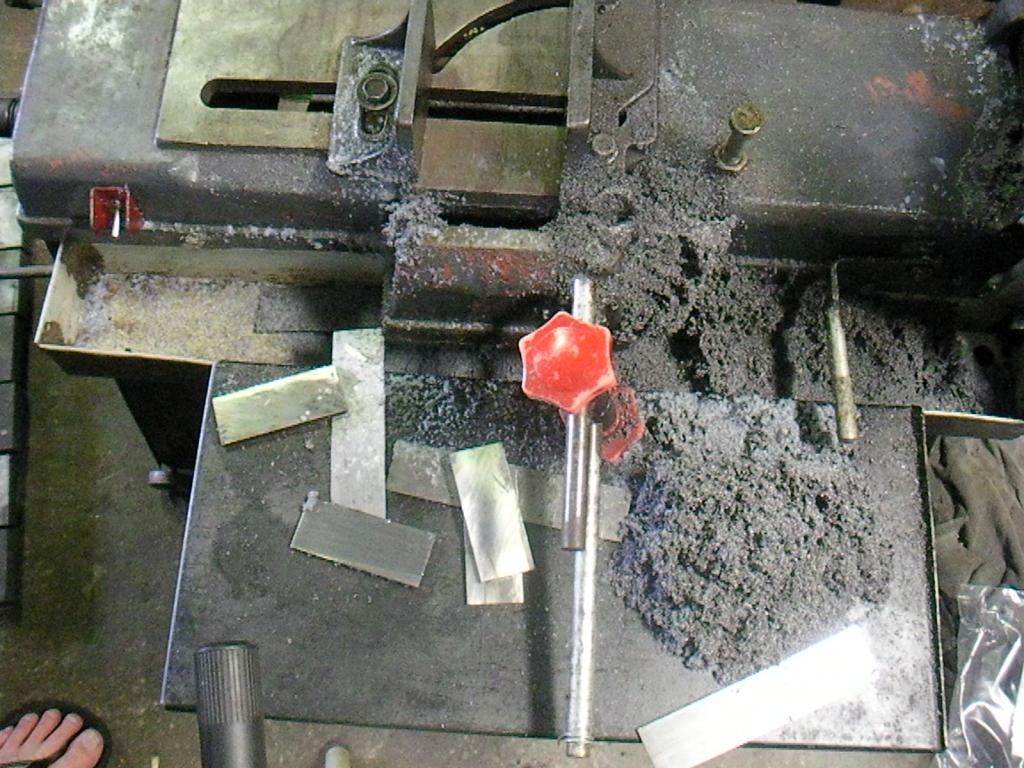
After that it was about 4-5 hours sitting by the saw cutting it into little blocks.The bandsaw was clean before I started and
the carbon blade did a good job.
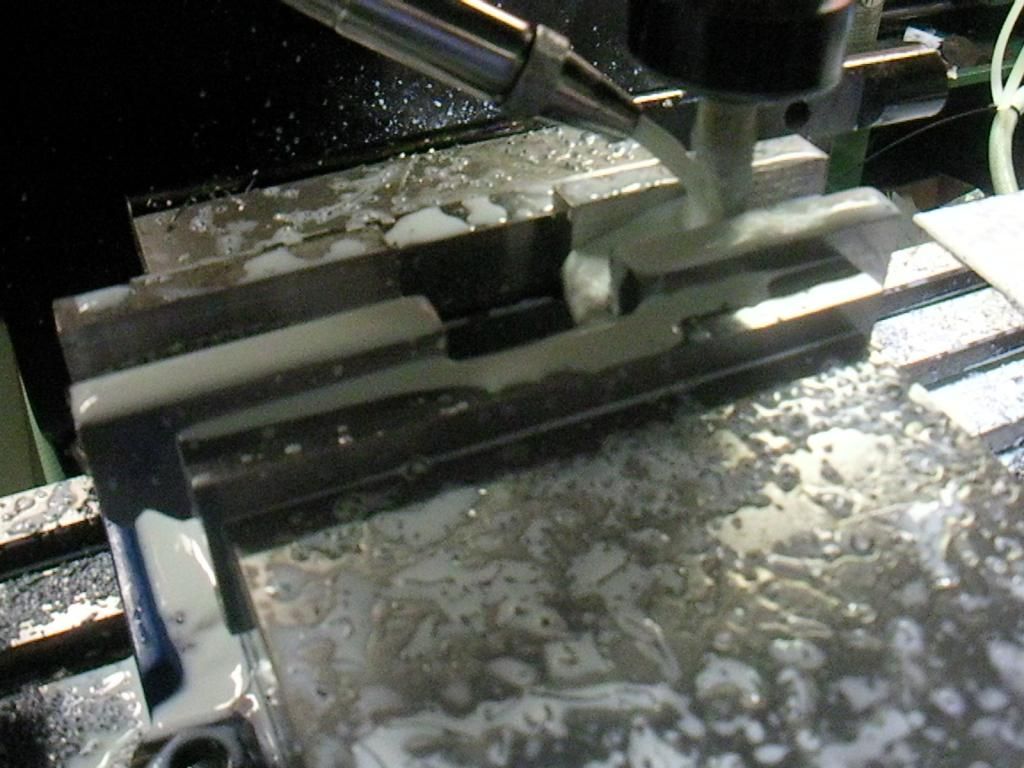
Once they where all cut up I faced the sides and the ends with the horizontal spindle and a carbide end mill.
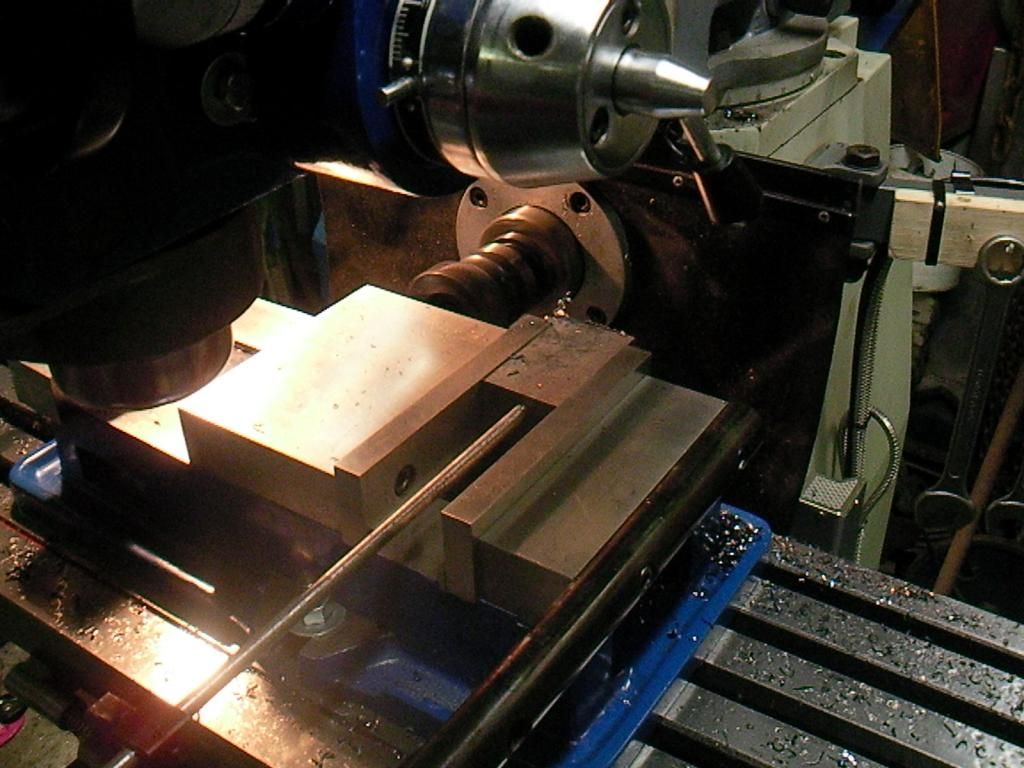
The slot was then roughed out.
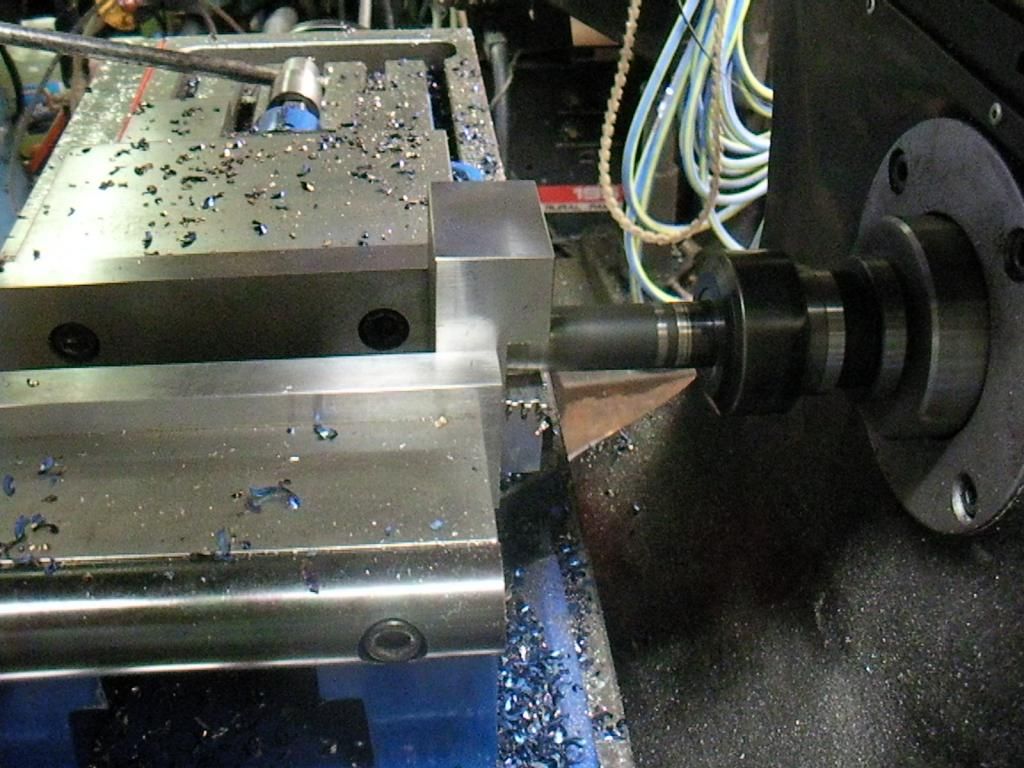
One side of the V roughed out
The other side of the V roughed out.
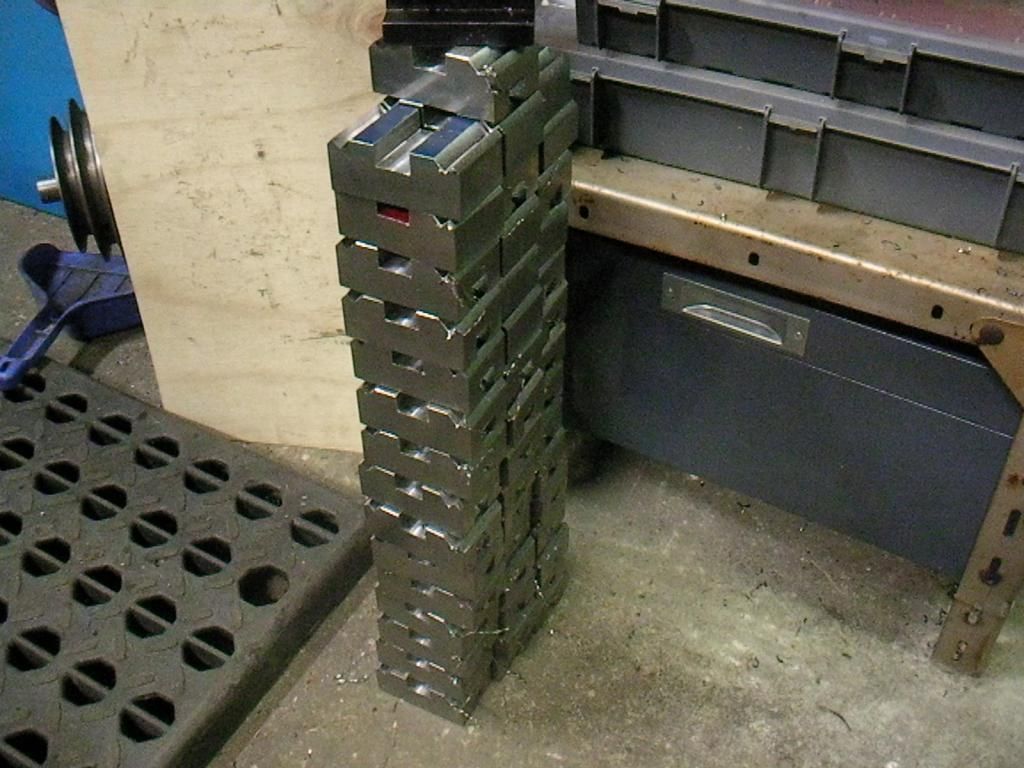
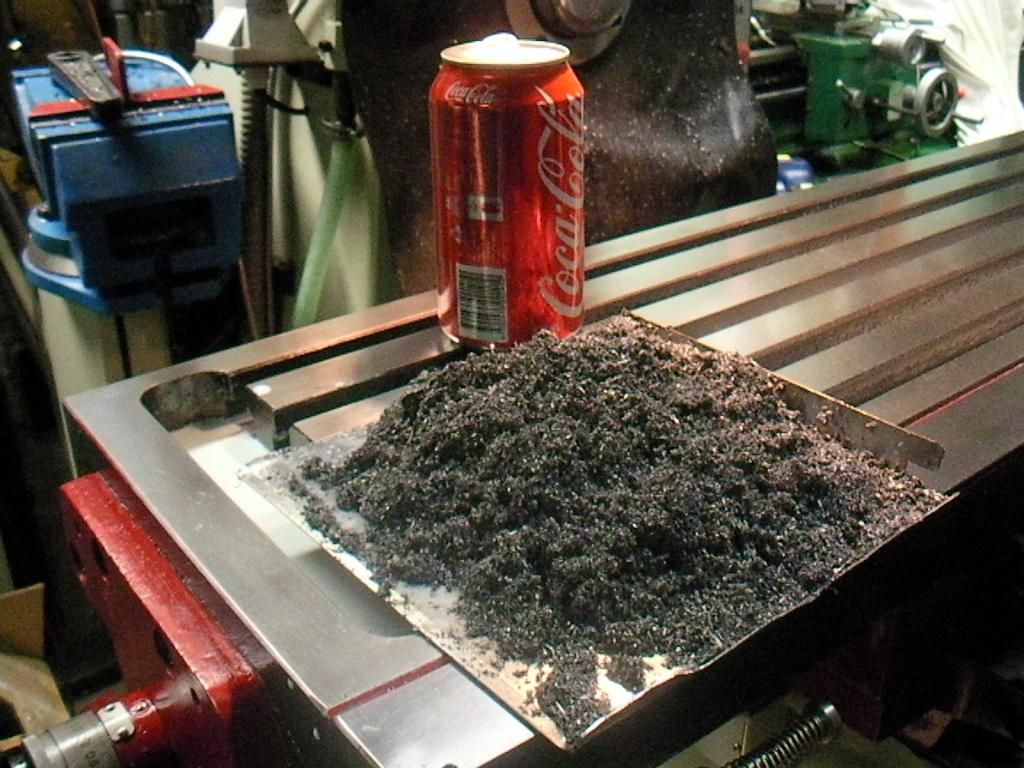
The pile roughed out to get rid of most of the waist metal.You can see a red and blue one there, I colored these because
they came off the saw a little thin so I marked them like this as they where not the same as the others. It was only
something small like 0.25-0.5mm but it makes a difference in setting them up in a jig.
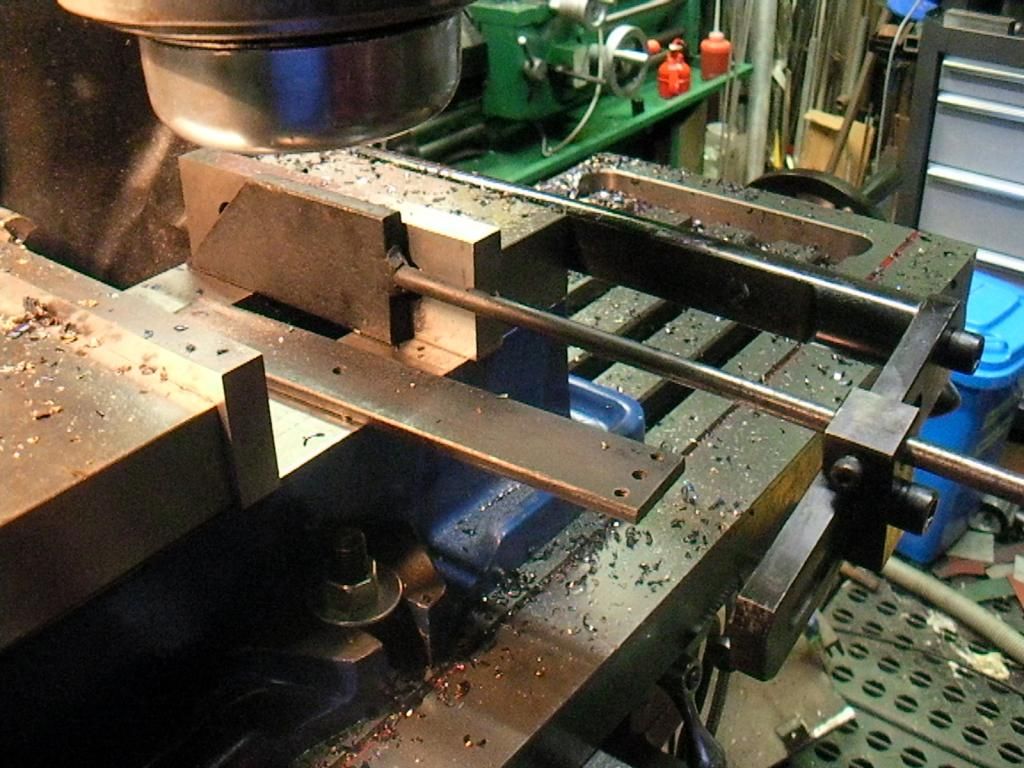
This is the jig I used for the roughing angle for the V's.
More to come
-
6th April 2013, 11:00 PM #2Dave J Guest
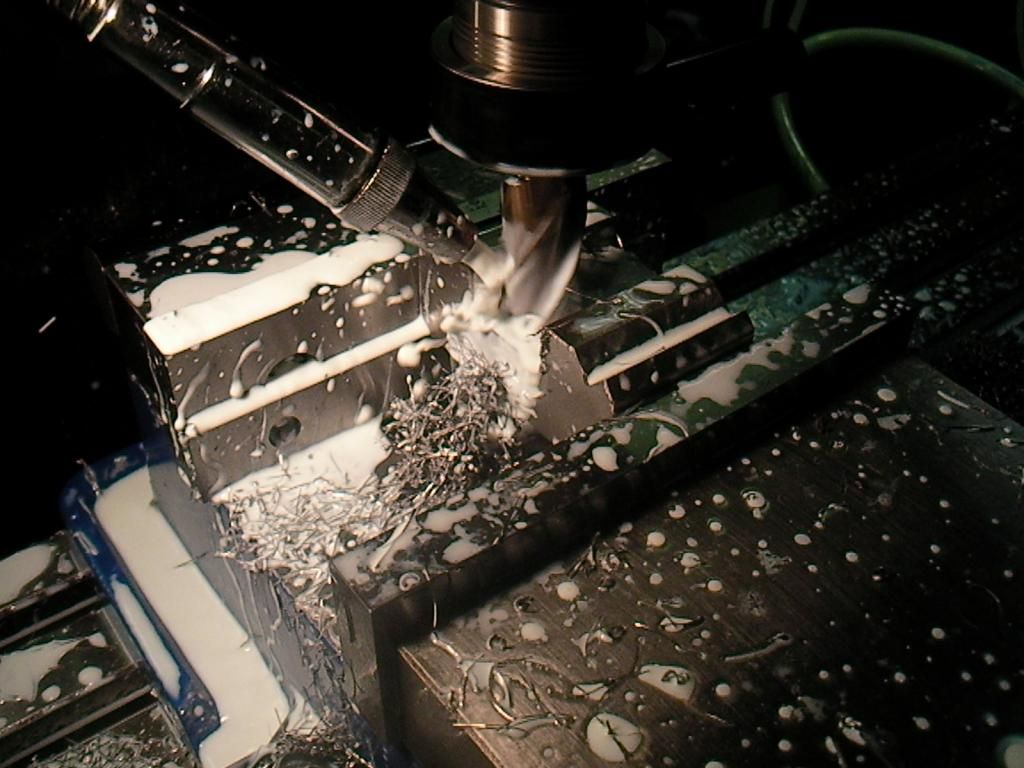
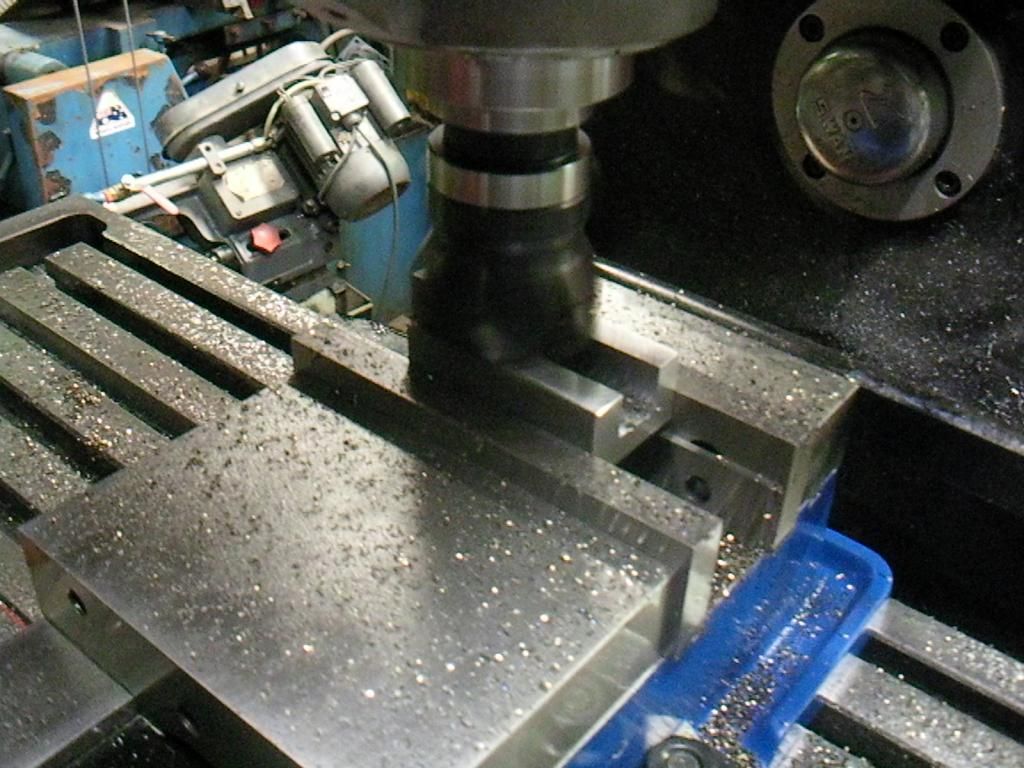
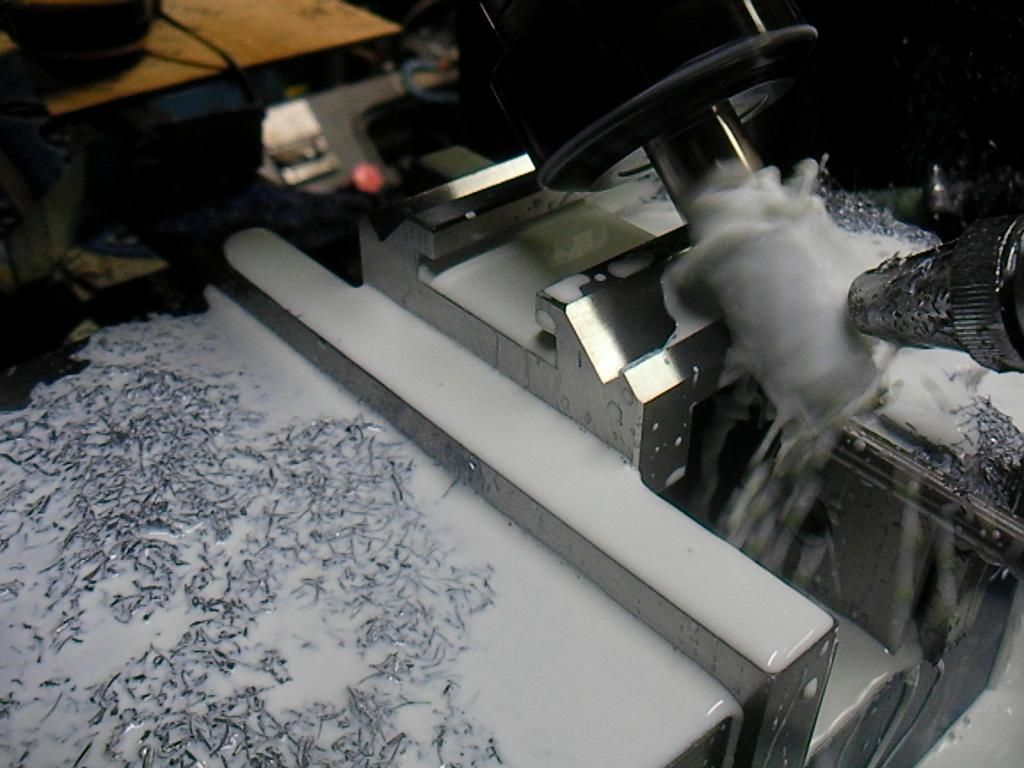
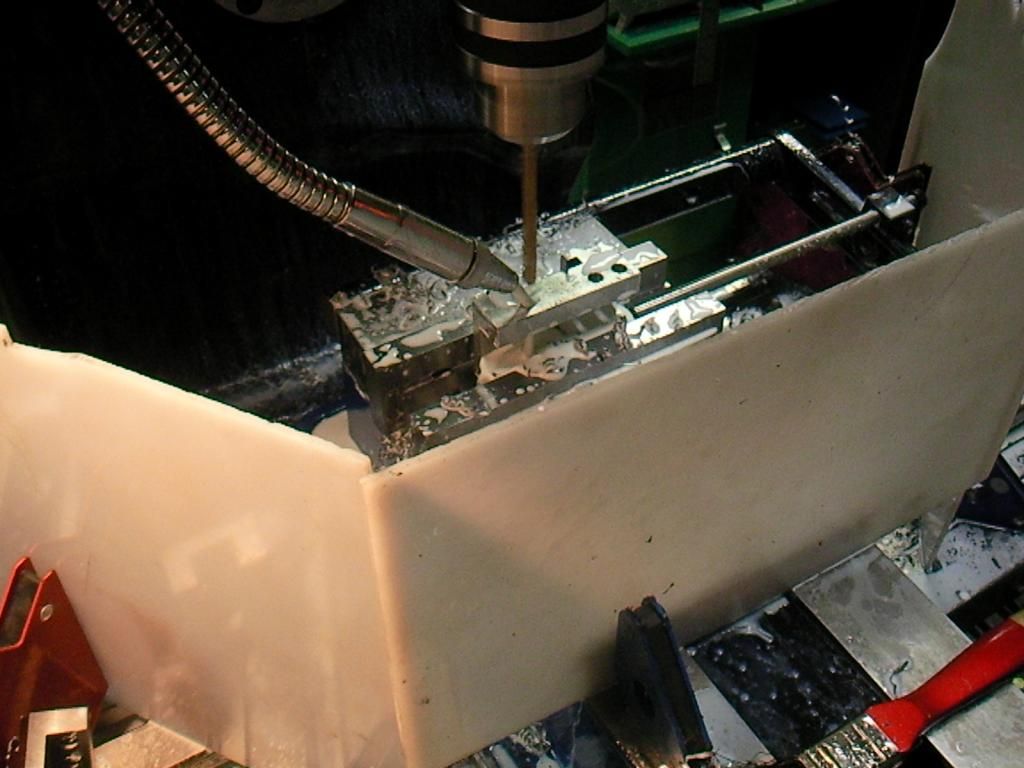
Here I am roughing the slot wider with a hoging end mill, it was easier to widen the slot with the vertical spindle than the
horizontal spindle.
The finish left from the roughing end mill.
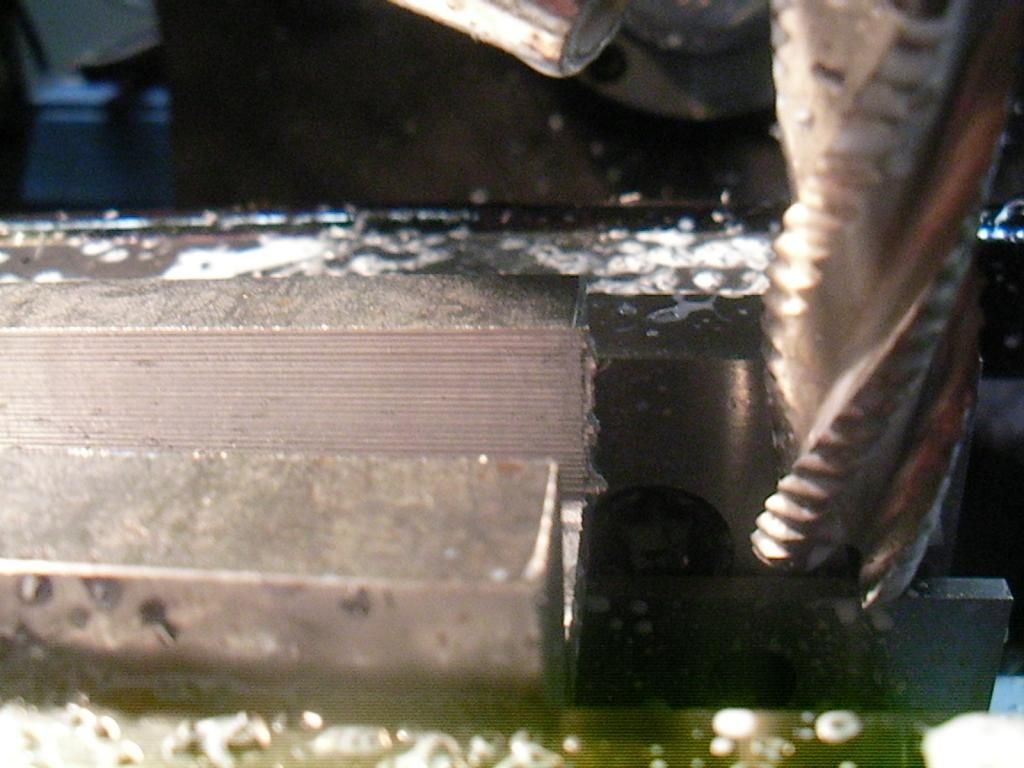
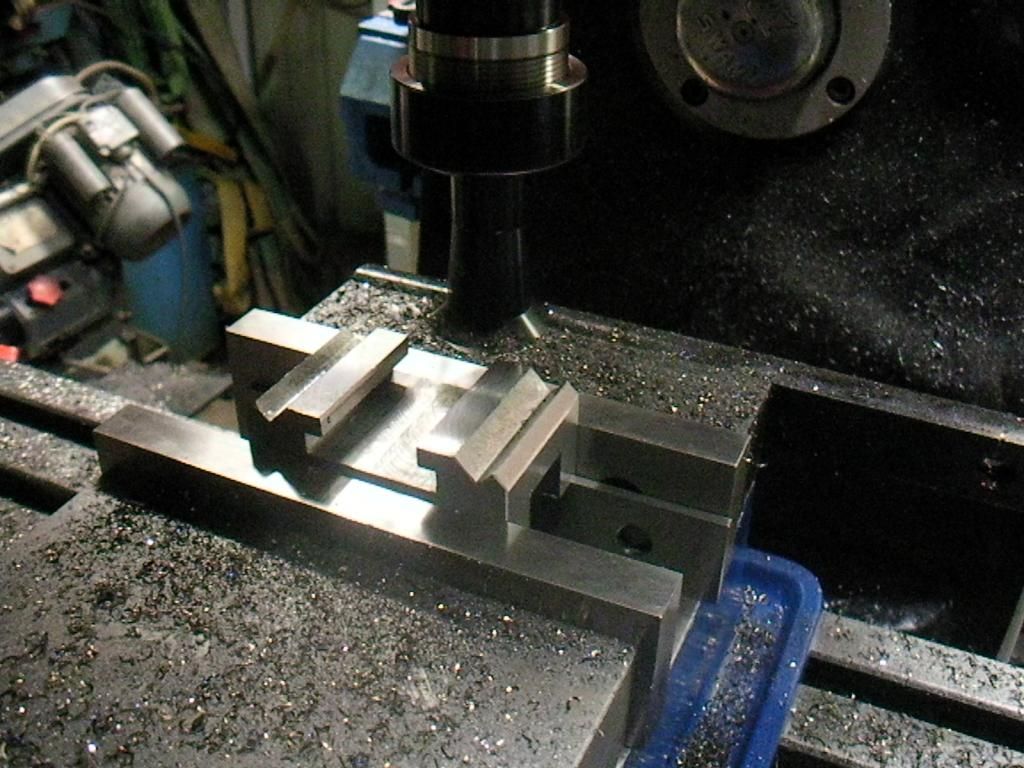
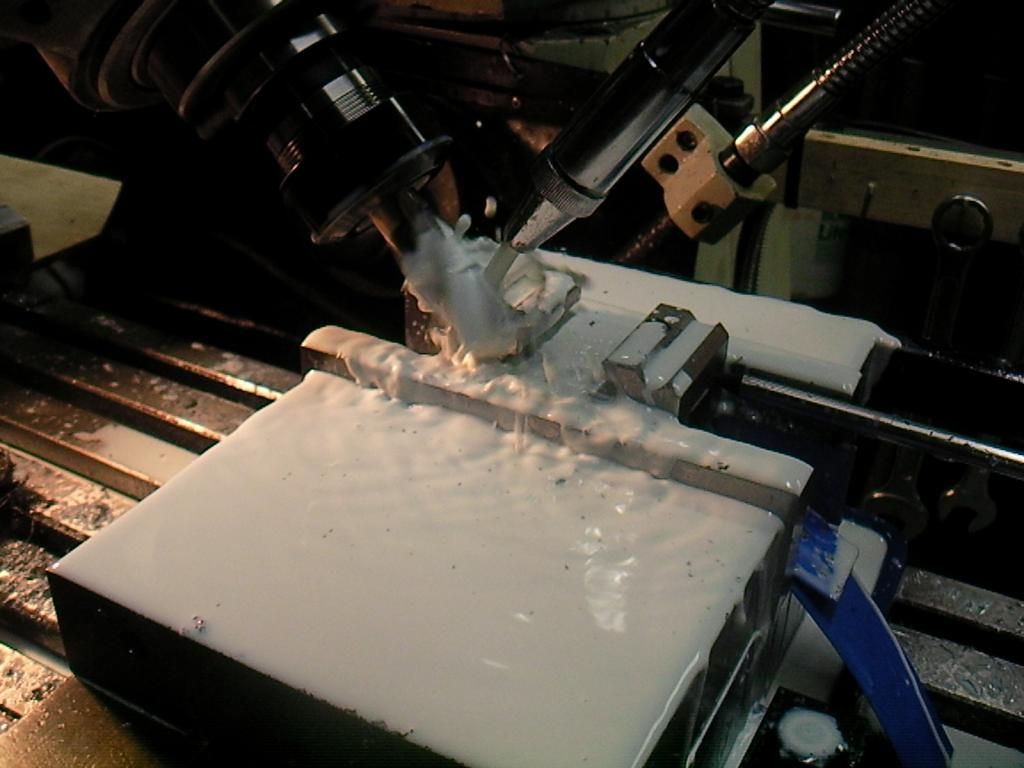
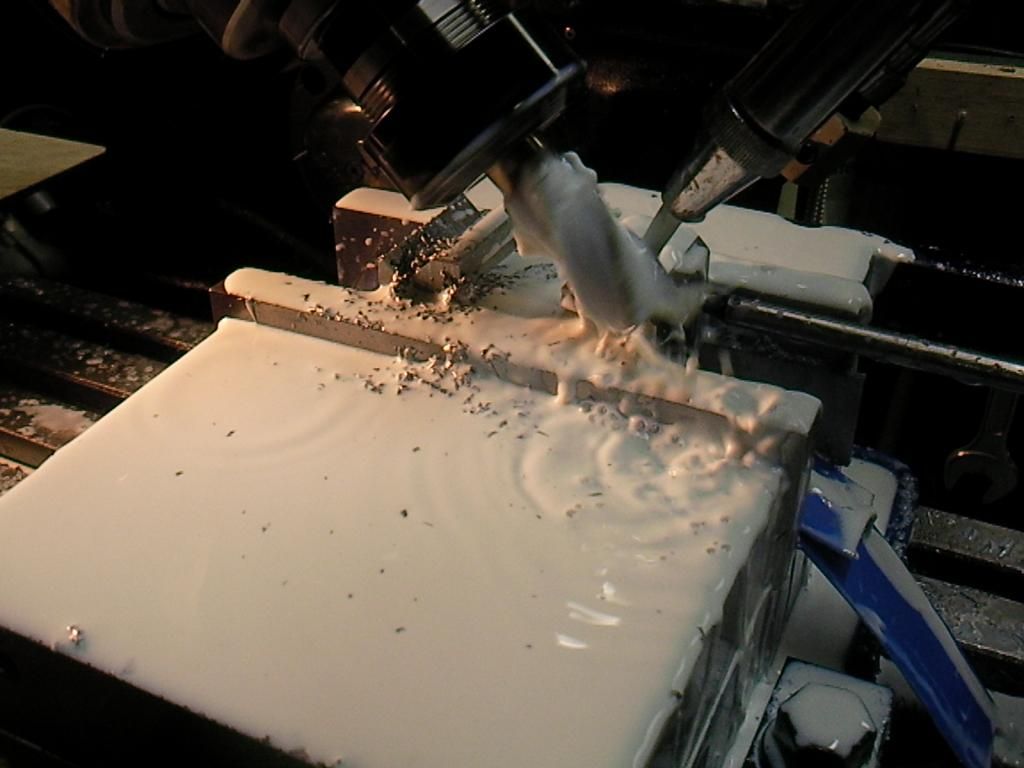
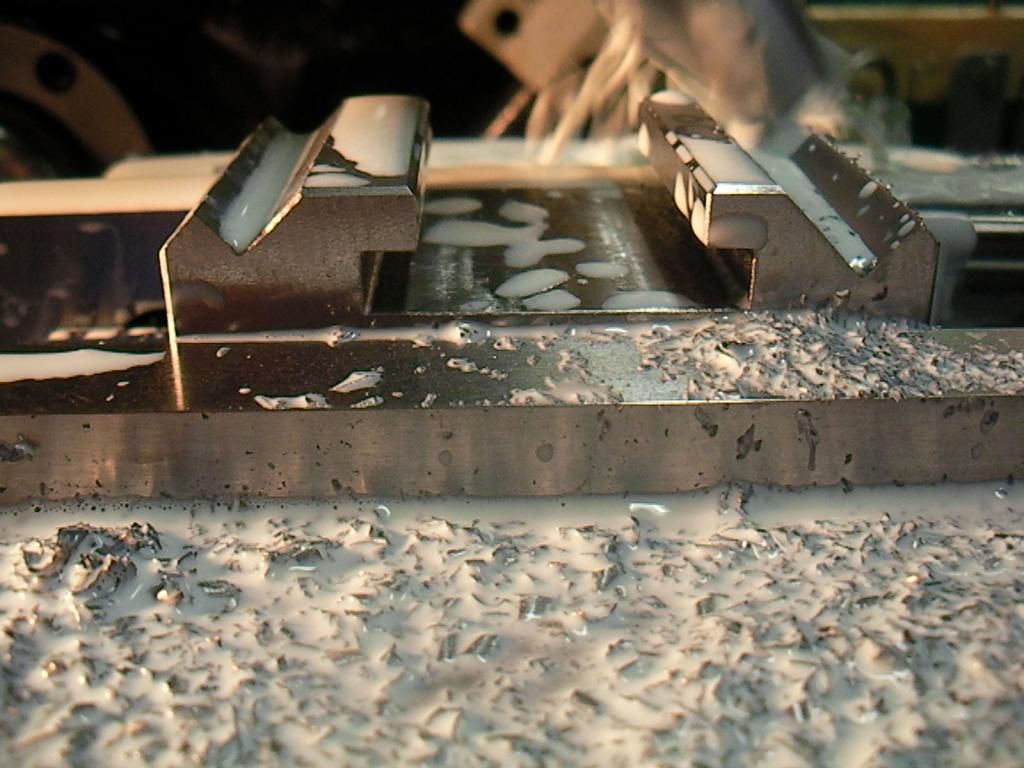
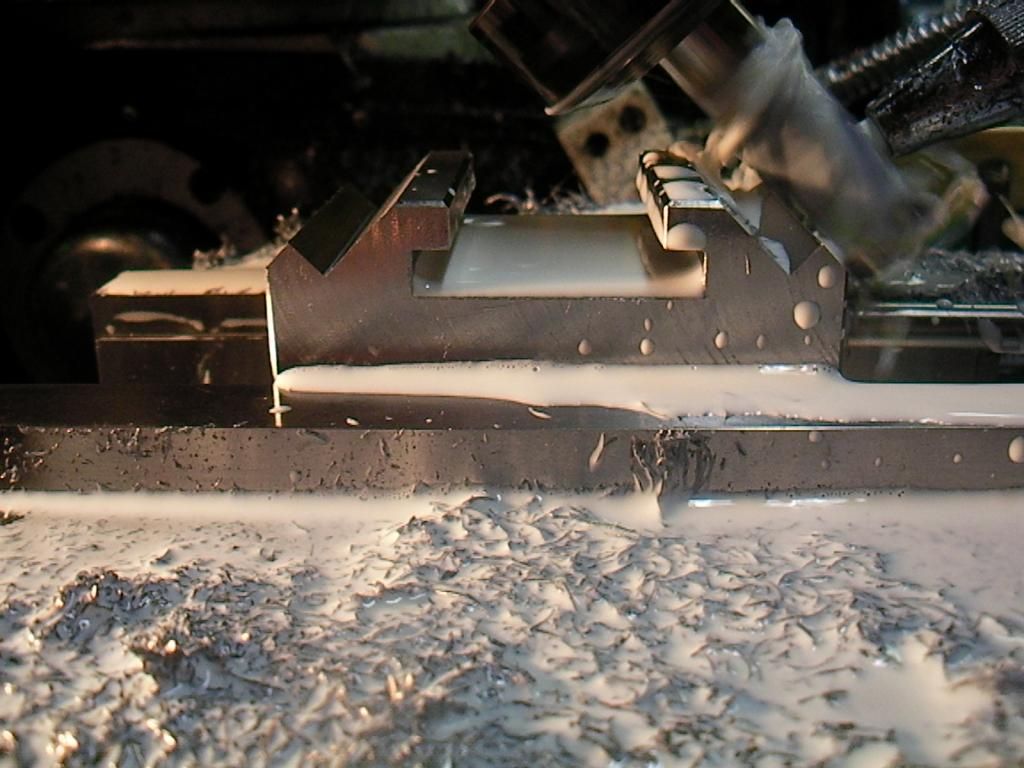
Finishing the slot
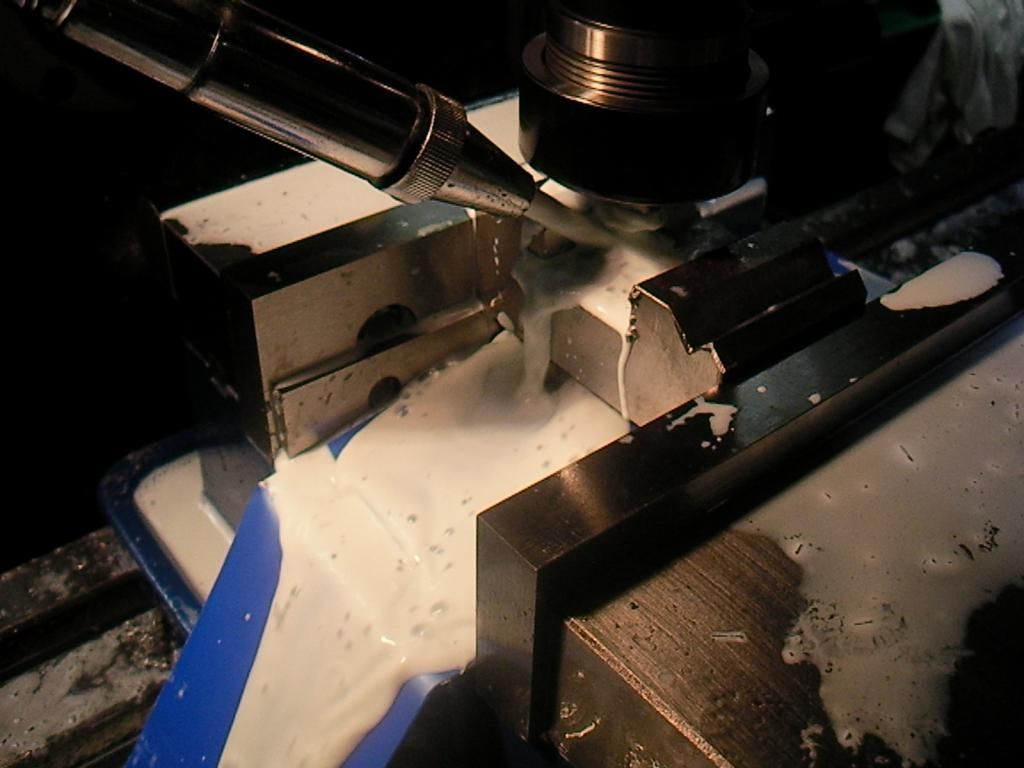
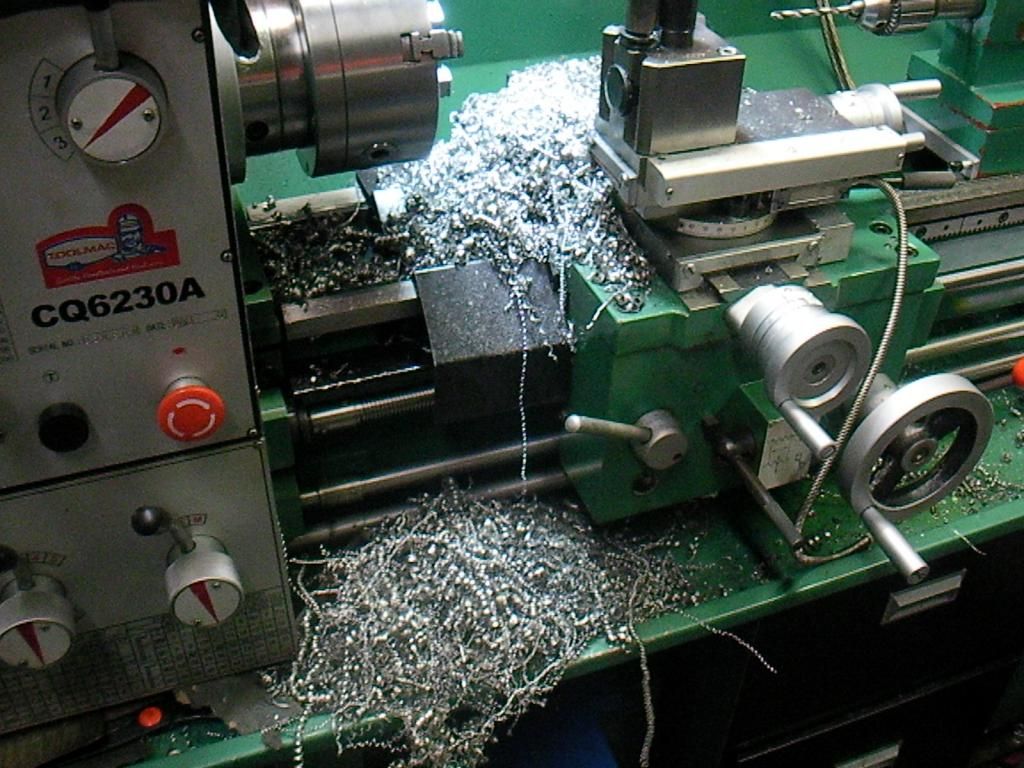
Cutting the slot with a key seat cutter. It was a bit blunt so I sharpened it using the lathe, it then did the whole job.
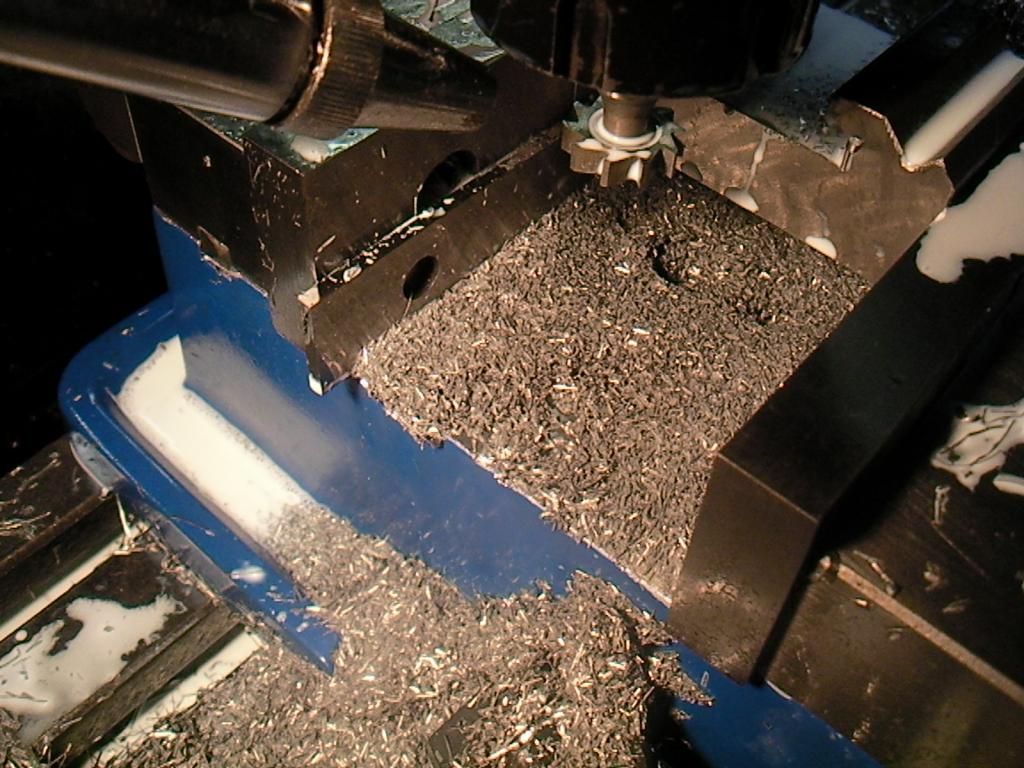
You can see how the swarf filled the vice, so I cut up some ice cream container to help out.
The little key cutter moved so metal
Facing them all
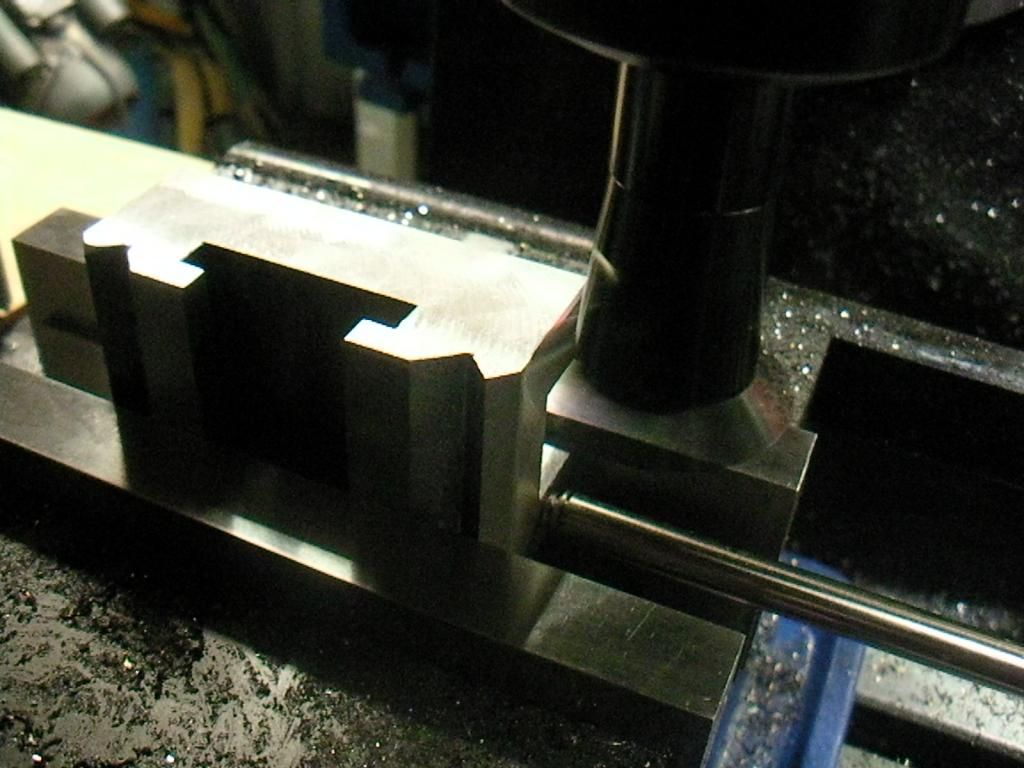
Knocking the corners off with a 45 degree end mill
More to come
-
6th April 2013, 11:02 PM #3Dave J Guest
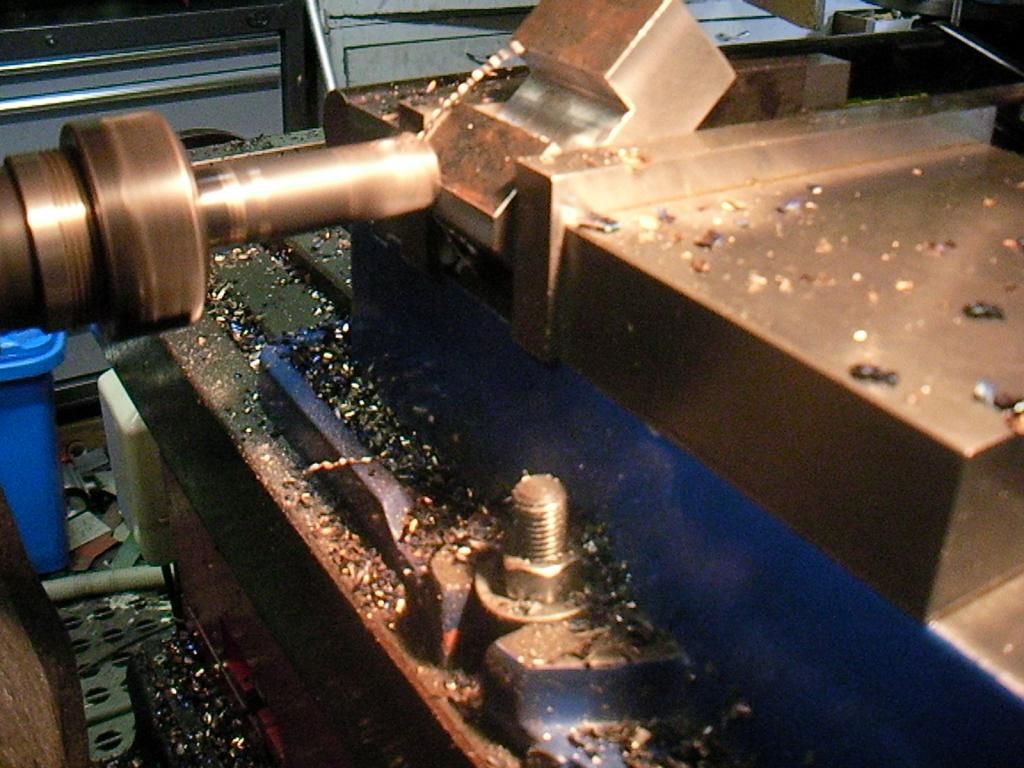
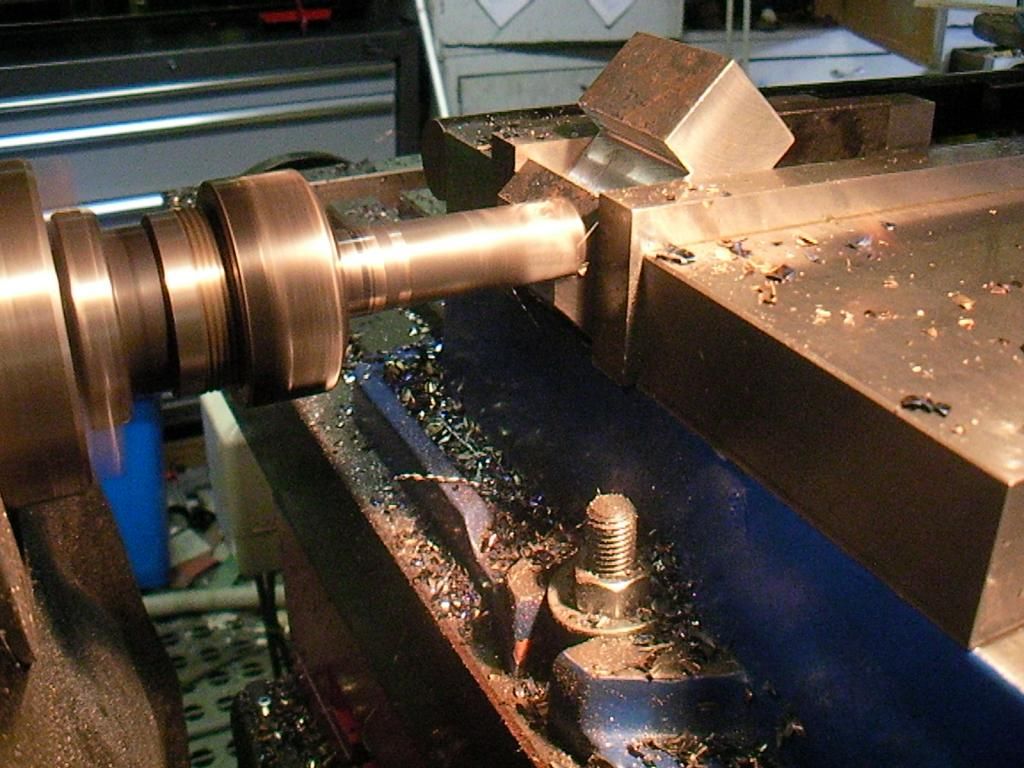
Finishing the V's
machining a flat on top of the V's
Drilling all the holes with a temporary shield
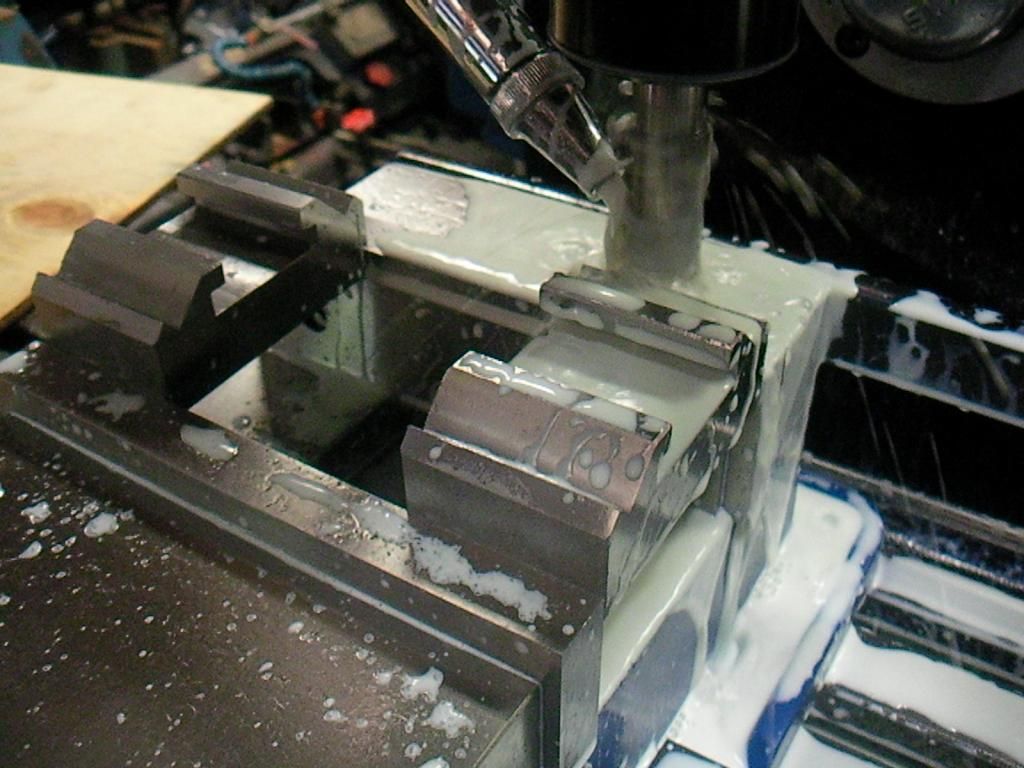
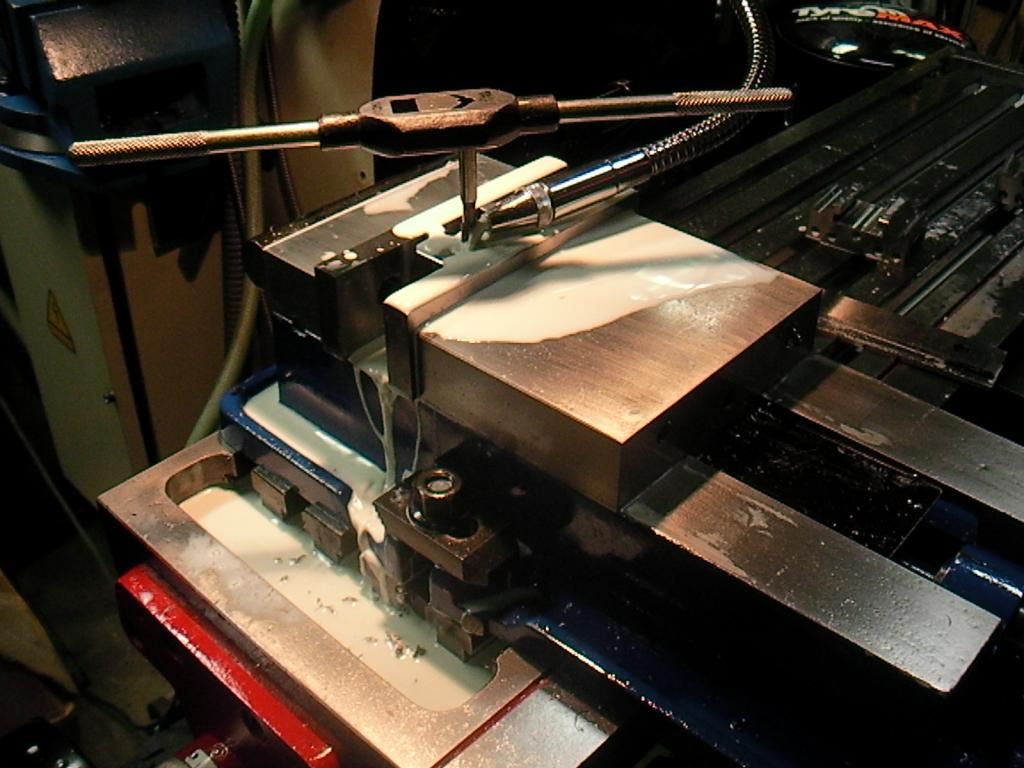
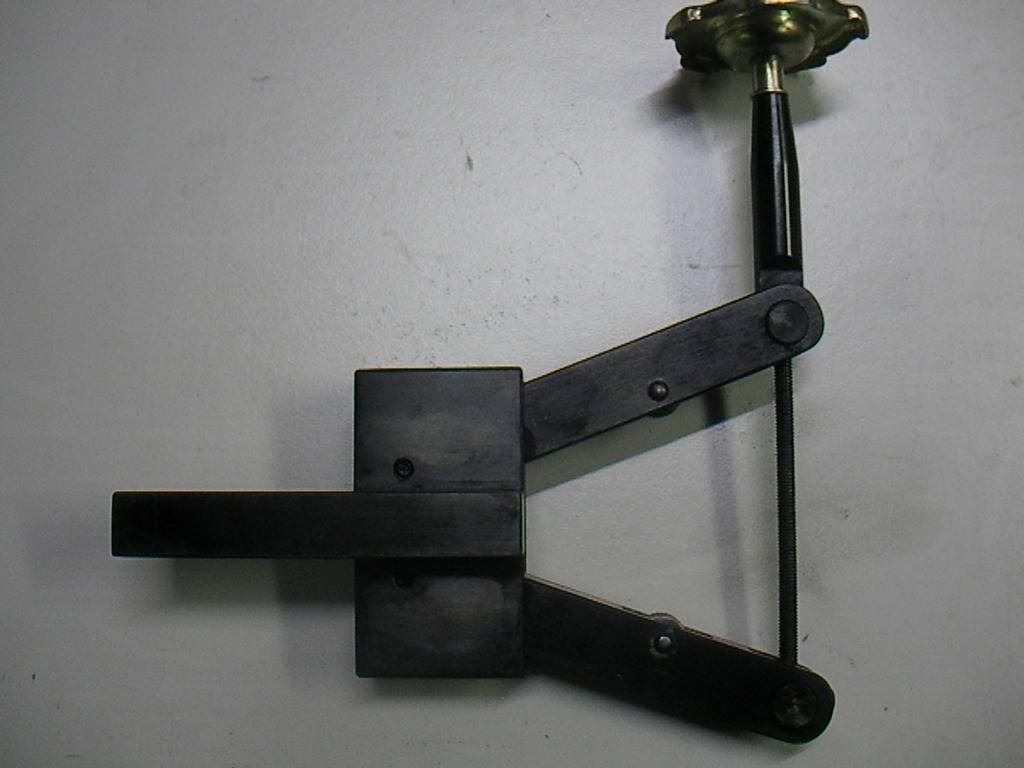
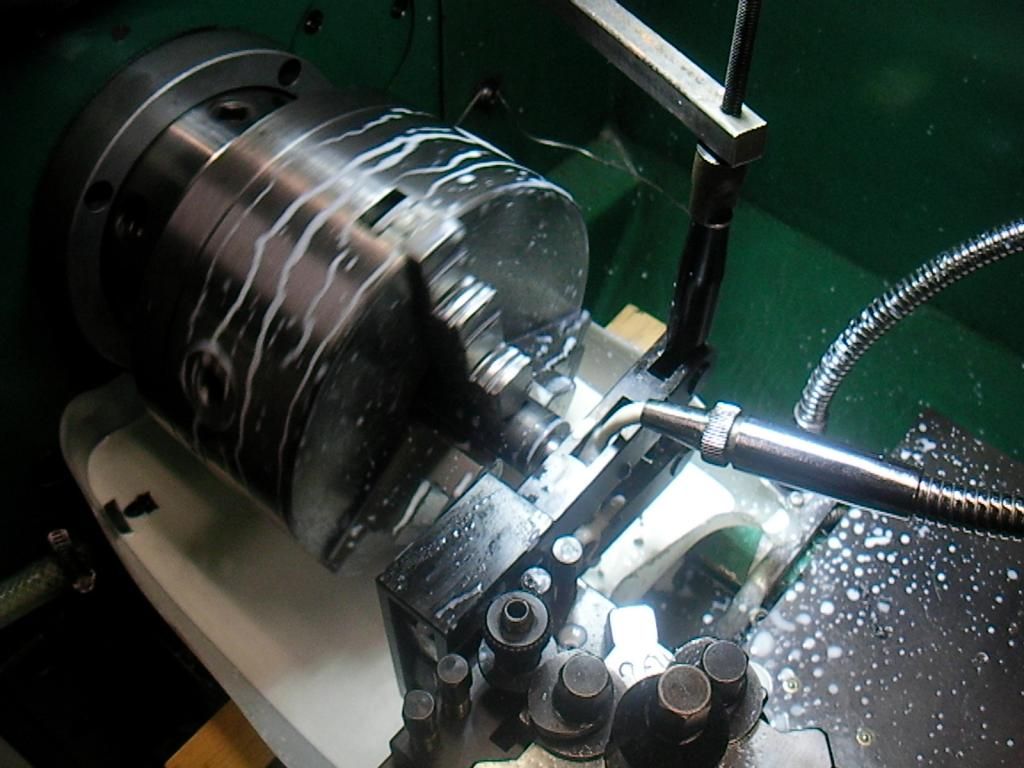
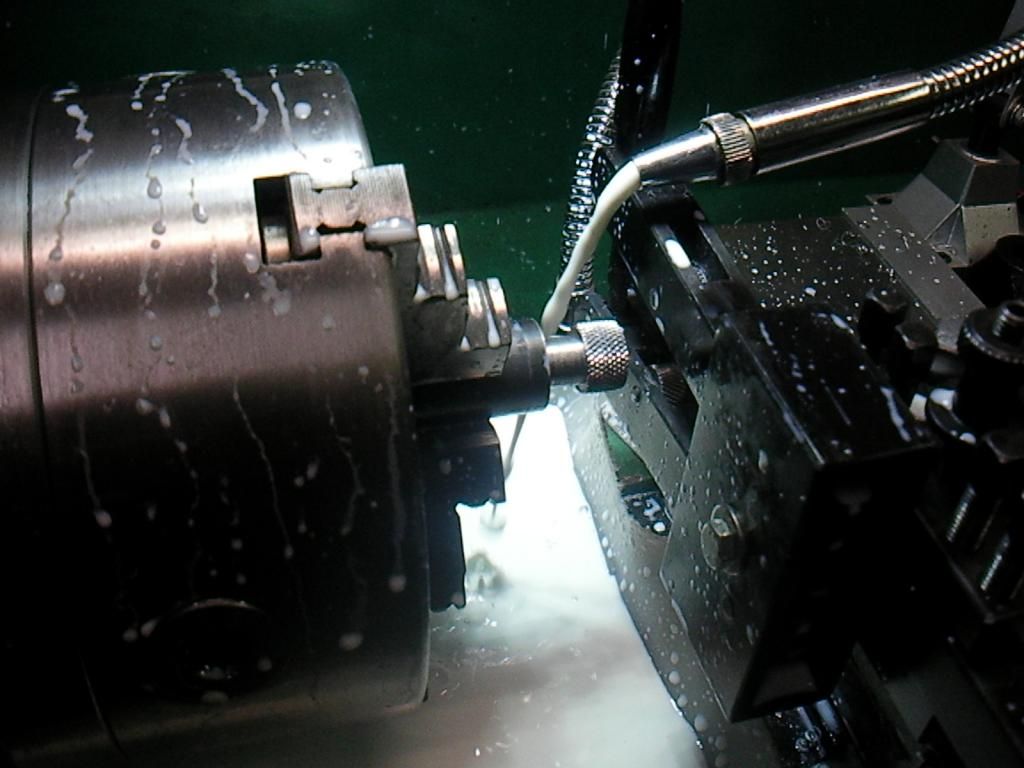
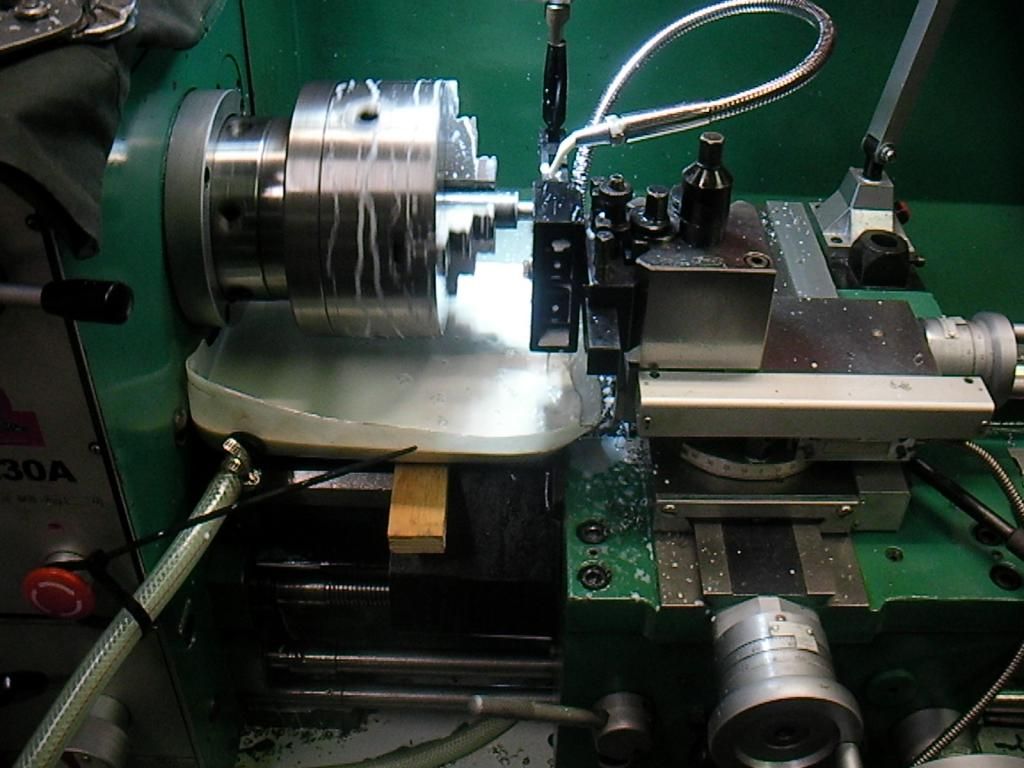
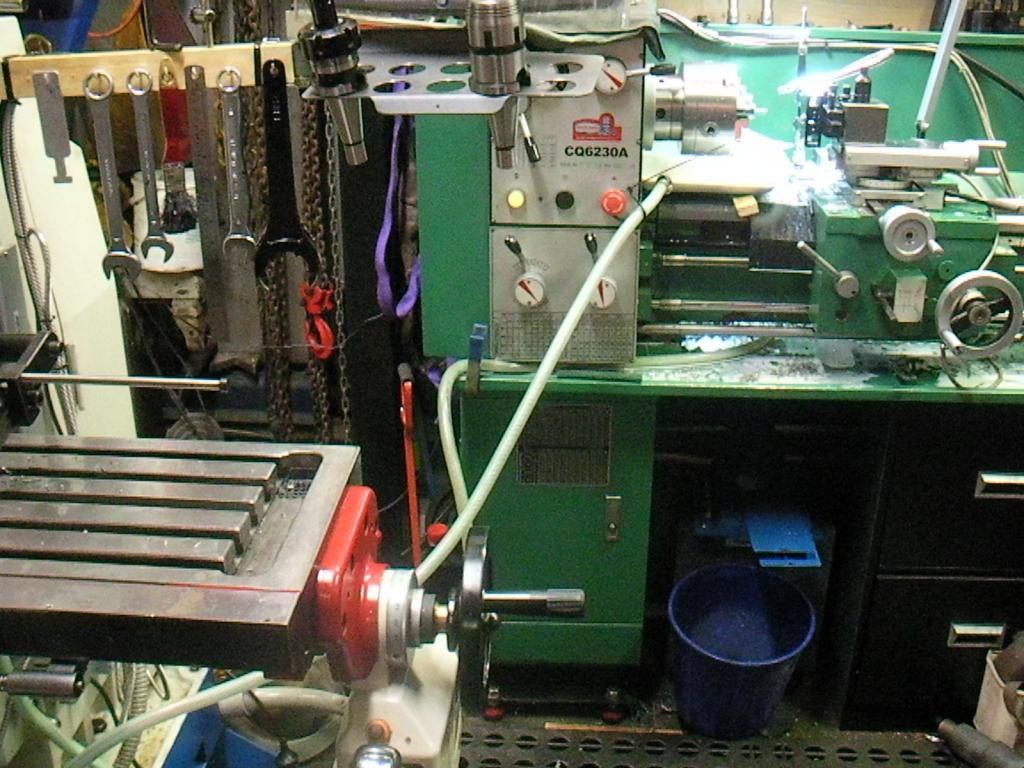
This is the tap set up I used, the coolant flushed out the chips so things went quicker. I had to tap 230 M8 holes.
I cut up the 25mm bar for the adjusters, drilled and taped them, then mad up this arbour to thread them on for all there
operations.
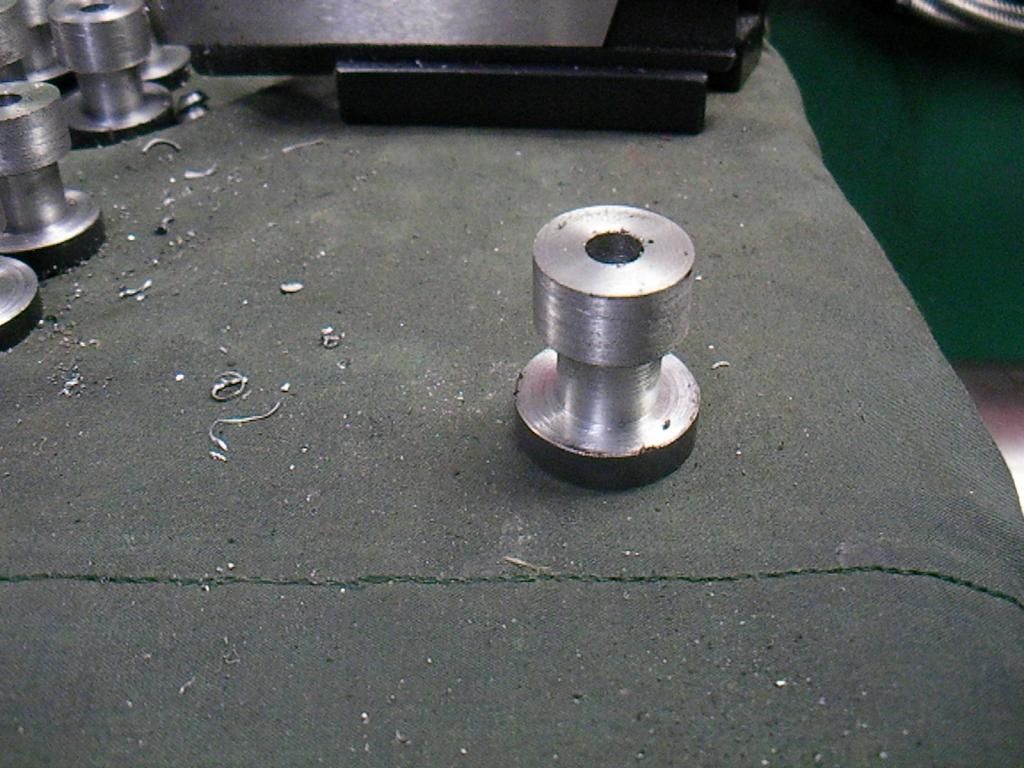
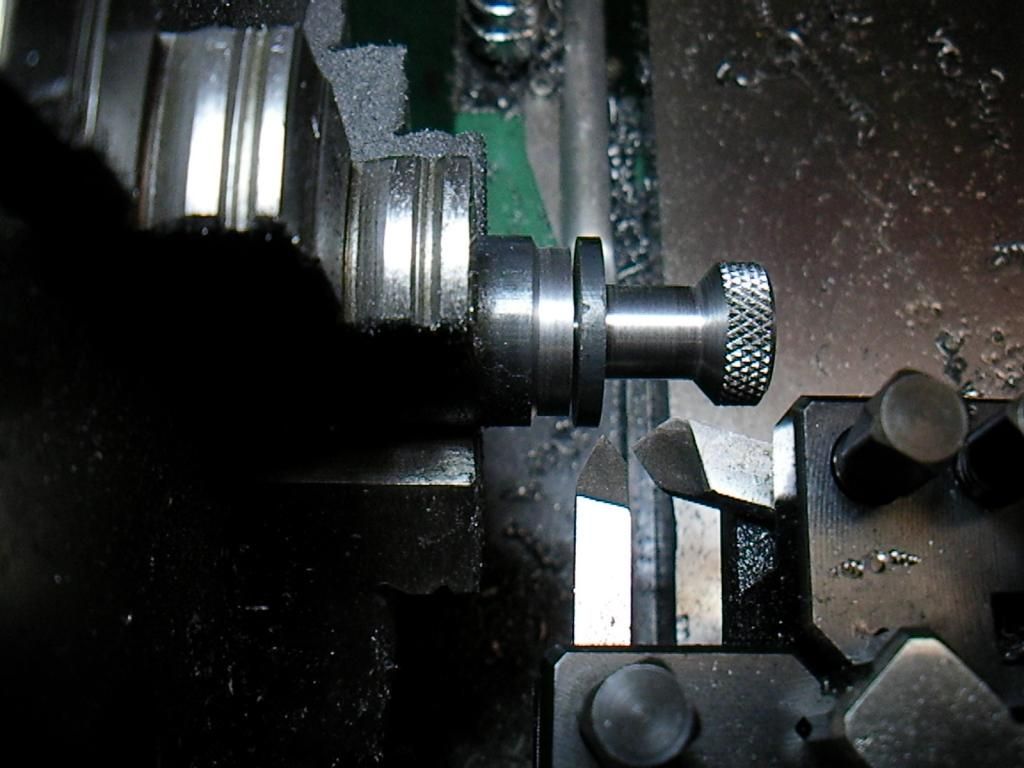
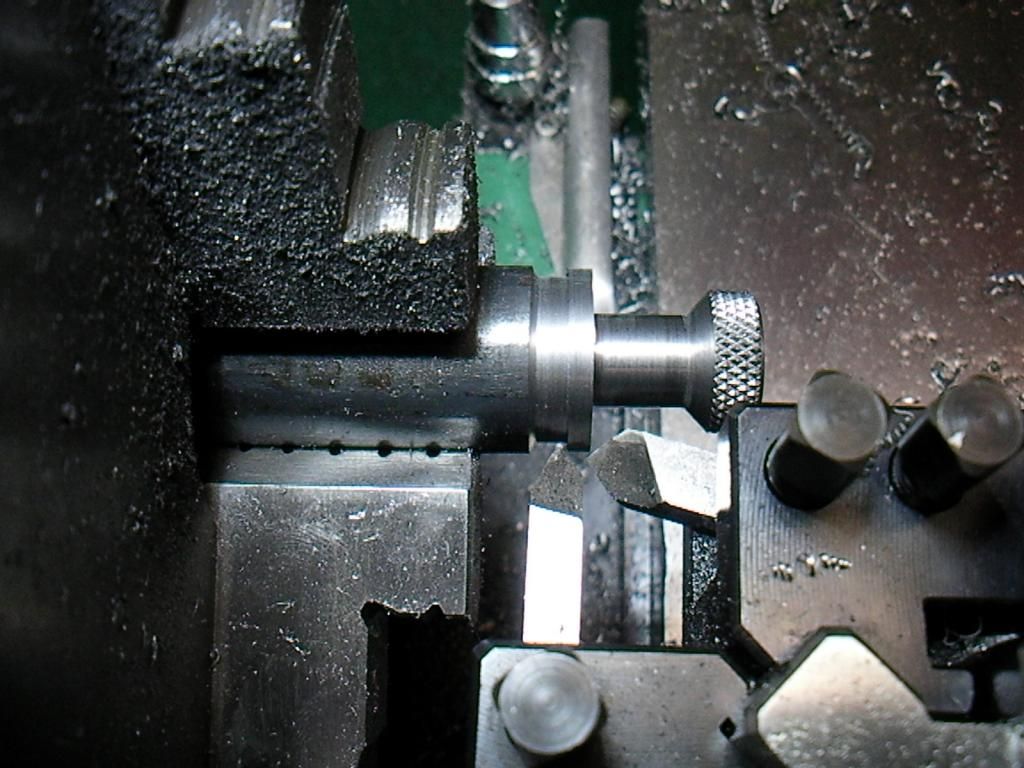
Making the adjusters
More to come
-
6th April 2013, 11:04 PM #4
 Senior Member


- Join Date
- May 2011
- Location
- Salem Ohio
- Age
- 65
- Posts
- 213

Thats some nice work there...Bob
-
6th April 2013, 11:04 PM #5Dave J Guest
I stole the wheels off the push knurler and made a clamp knurler
Knurling the adjusters
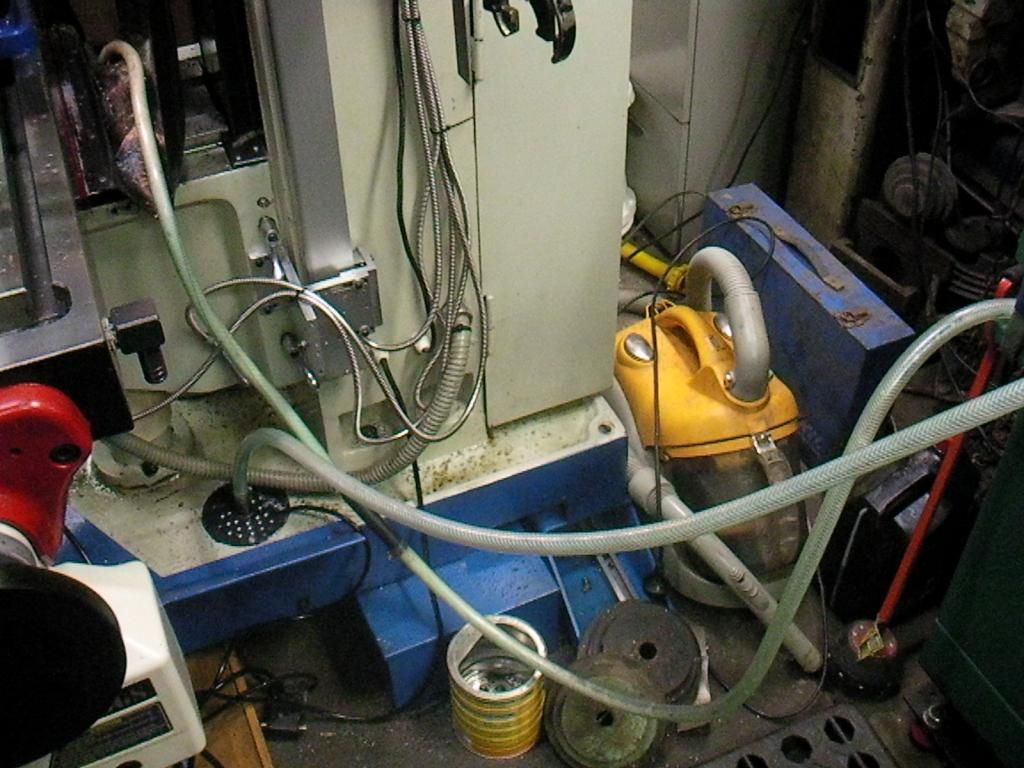
My temporary coolant set up run off the mill.
All knurled

Most of the shaving that where caught after knurling.
More to come
-
6th April 2013, 11:06 PM #6
GOLD MEMBER
- Join Date
- Jun 2008
- Location
- Victoria, Australia
- Age
- 74
- Posts
- 6,057
Nice work Dave,
Is that one of the CTC solid carbide "rippa" cutters?
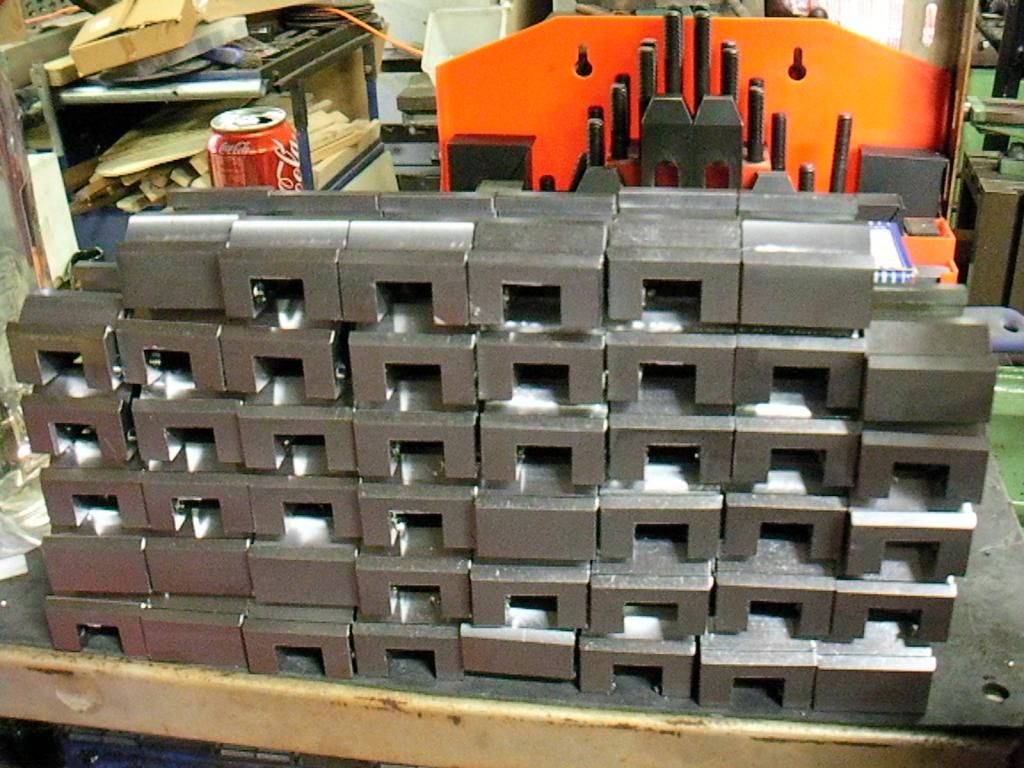
Very impressive you realize that stack would cost over $3500 if you had to buy them at H&F prices ...
Regards
Ray
PS Good to see you getting back into the swing of things!
-
6th April 2013, 11:07 PM #7Dave J Guest
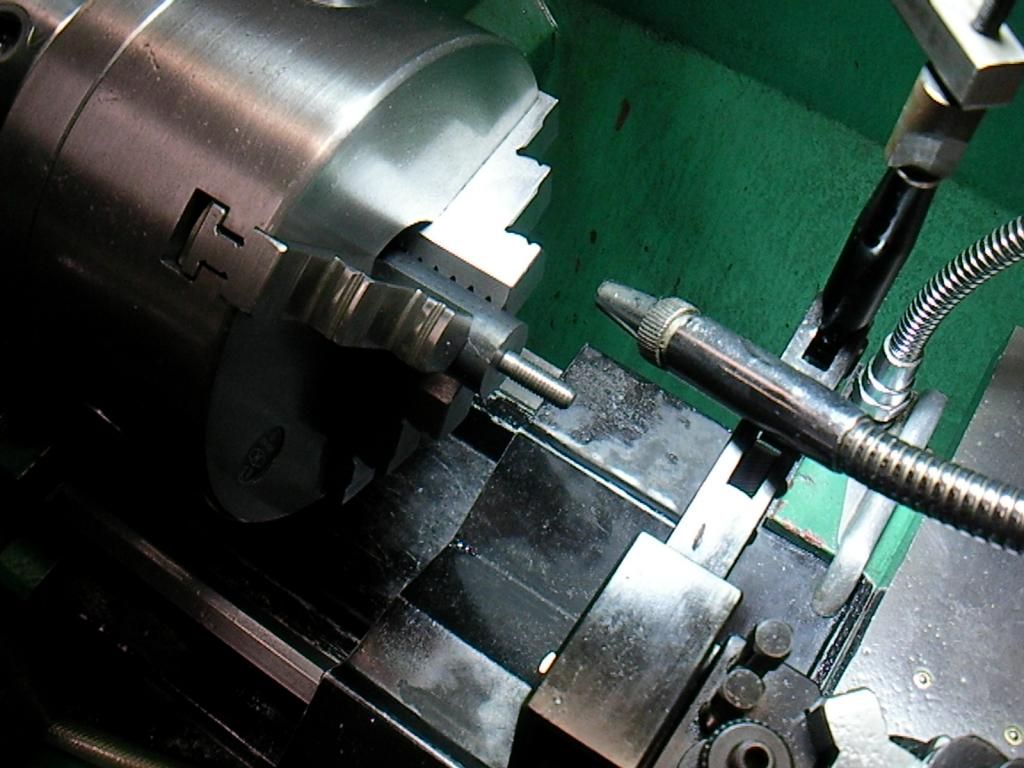
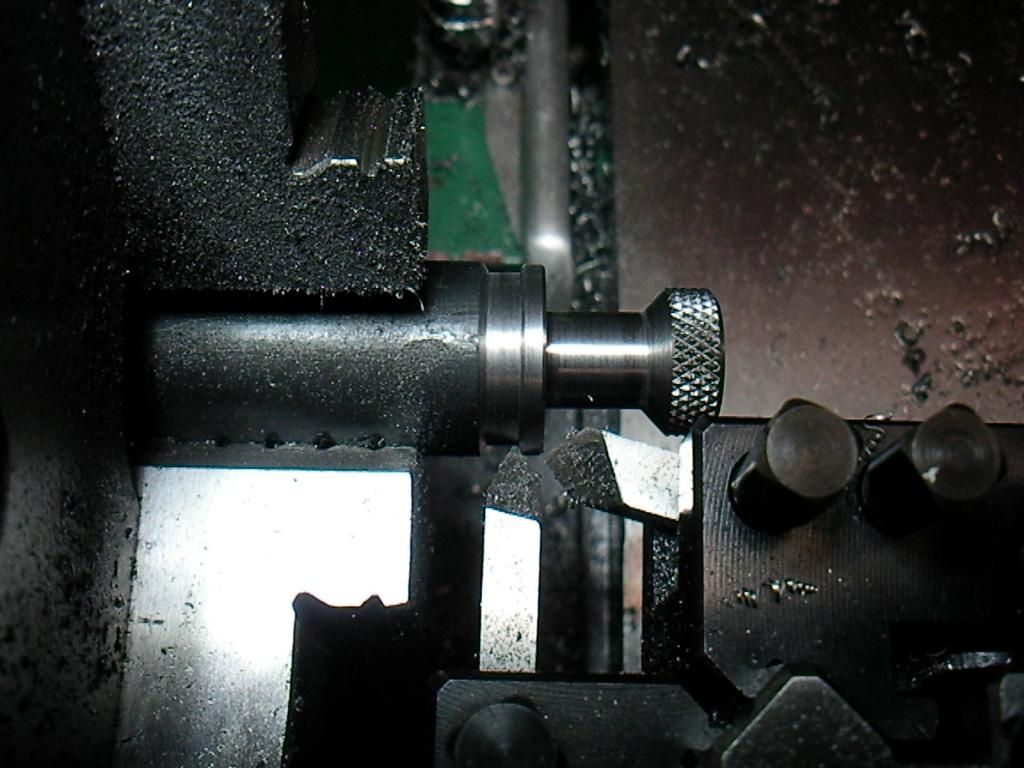
I set up these tools in 2 tool holders to do all the operations in one go
Machined the outside diameter
Taking of the sharp corner
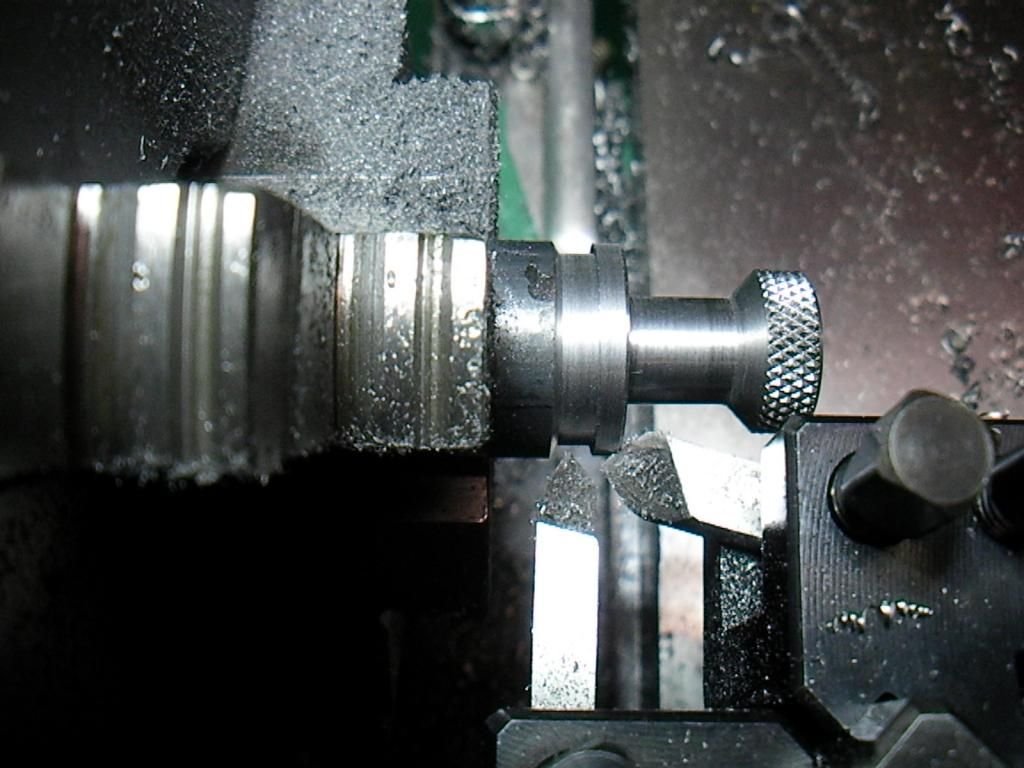
Taking off the bottom edge.
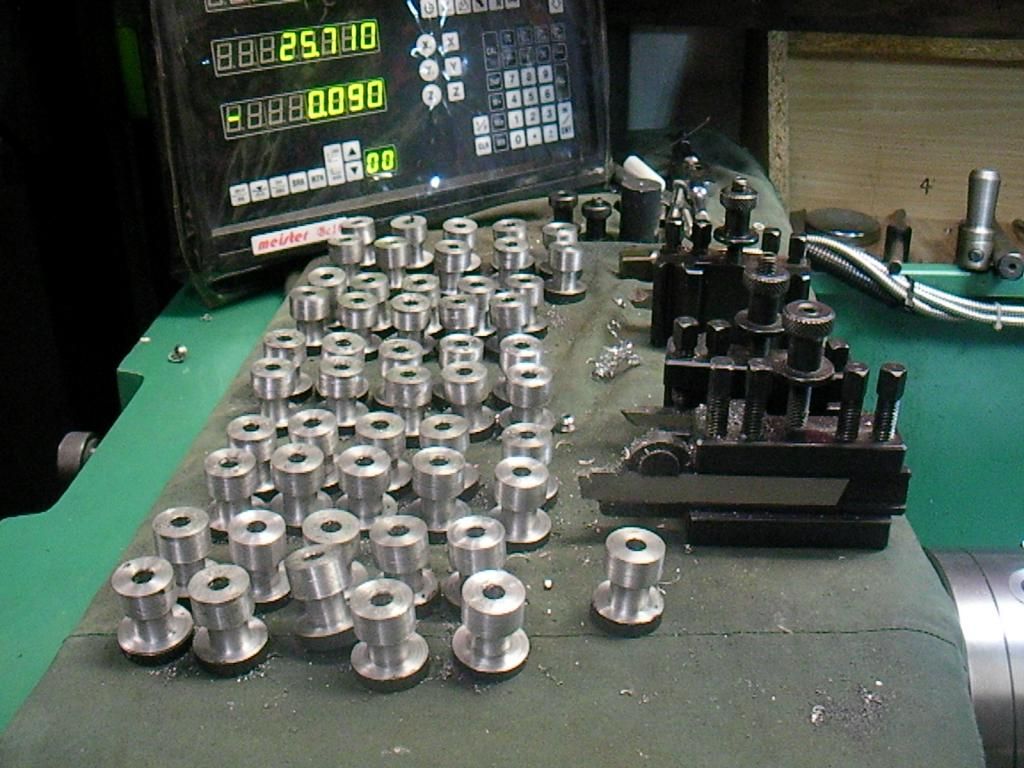
All done, I made 60 odd for spares as I never want to make these again,lol
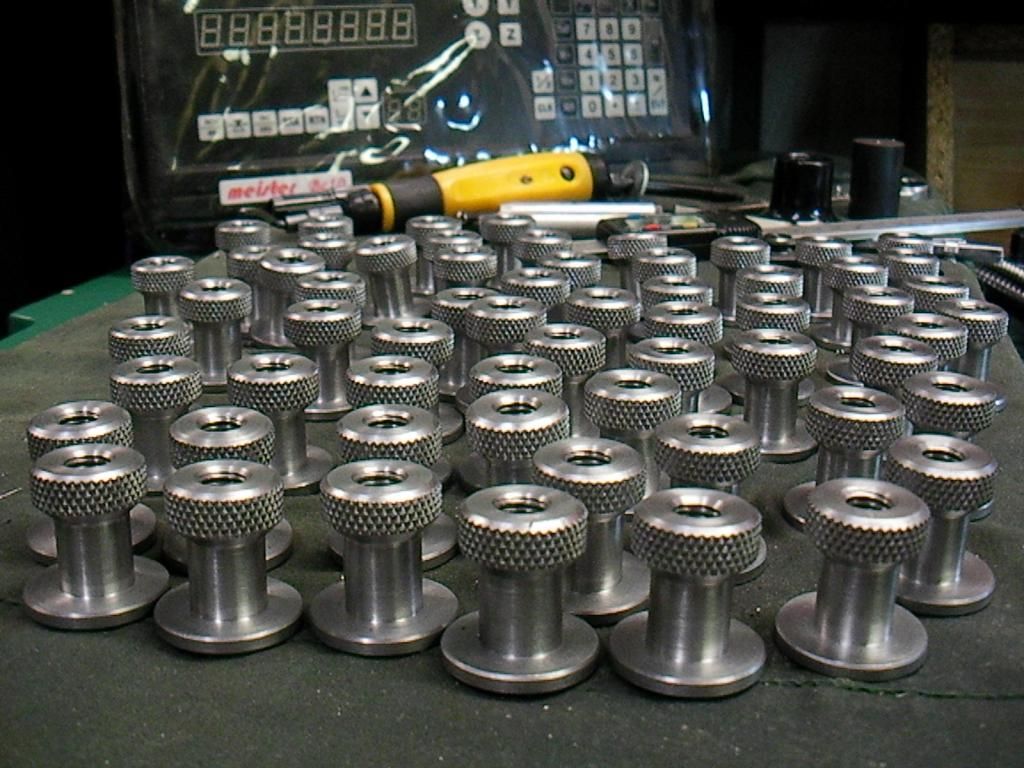
All of them heated up and dunked in oil
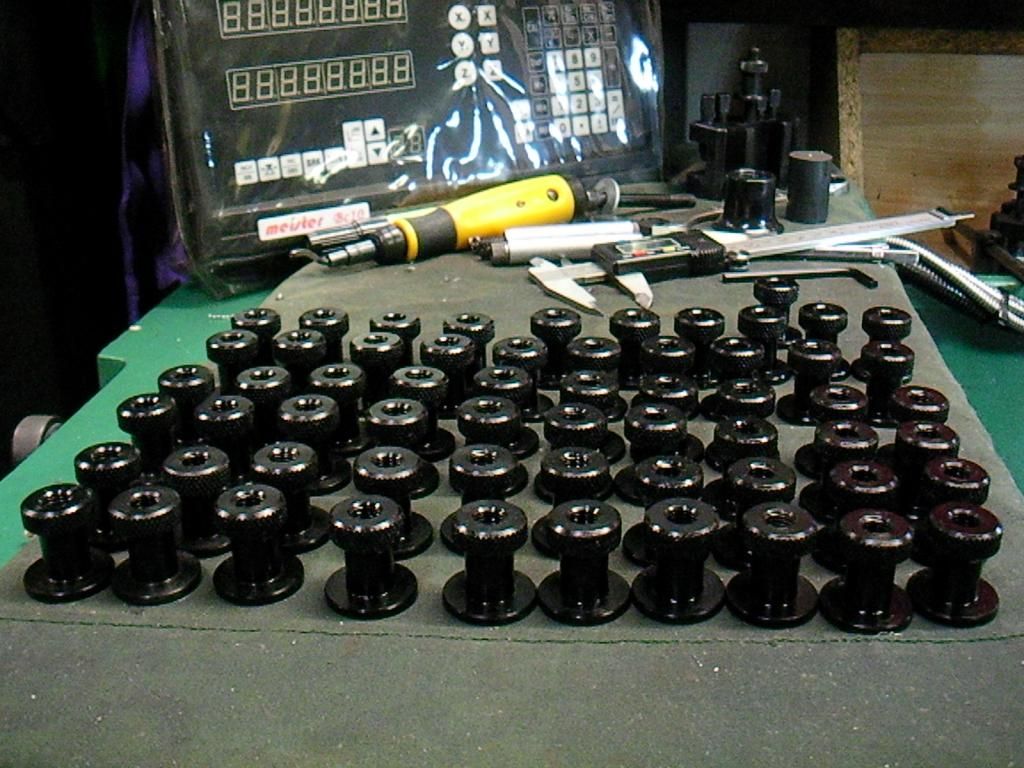
What a repetitious job
Finished

The one stuff up when I was roughing them, oh well it will get used for something like an indicator holder.
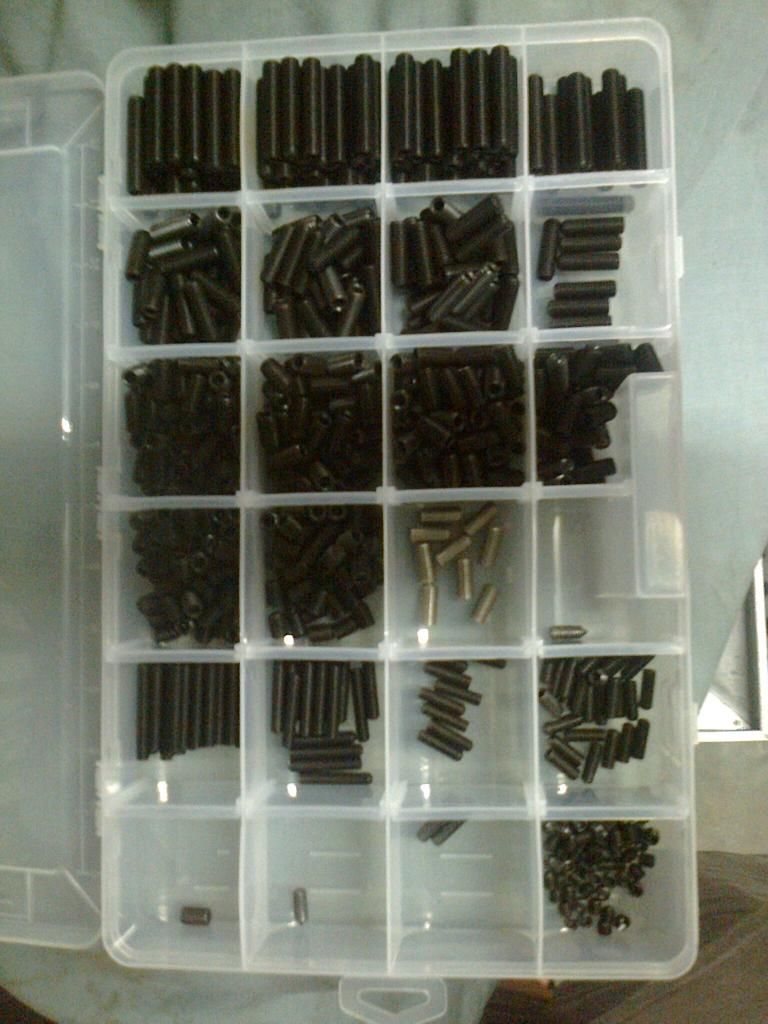
I picked up 1500 odd grub screws from the UK for just over $100, a lot cheap than buying them here for $50 odd dollar a box
of 100.There is more than in the picture they are just the M8 ones need for the tool holders.
I have different lengths so I will be able to custom fit the grub screws to different size tooling I put in them
holders and will be changing my factory holders over to grub screws as well. The square he bolts where just to expensive and
I would rather they didn't stick up above the holder.
Dave
-
6th April 2013, 11:10 PM #8Dave J Guest
 Originally Posted by RayG

Thanks Bob.
Ray you guys are quick, I tried to post it all in one go but it wouldn't let me.
Yeah about $3500 from H&F. That ripa is the high speed steel one (for stainless steel and hard materials)
Dave
-
6th April 2013, 11:23 PM #9
future machinist
- Join Date
- Mar 2008
- Location
- nowra
- Posts
- 1,360
Nice they look fantastic
BETTER TO HAVE TOOLS YOU DON'T NEED THAN TO NEED TOOLS YOU DON'T HAVE
Andre
-
6th April 2013, 11:28 PM #10
Blacksmith, Cabinetmaker, Machinist, Messmaker
- Join Date
- Dec 2011
- Location
- Canberra
- Age
- 40
- Posts
- 4,432
Well done Dave
Ive been waiting for this thread for a while, good to see it!
Those Rippa cutters are great.....unless you do what i did to my 20mm one.
I have one question though. Is there any reason that you didn't cut the steel into strips (say with the mill and a slitting saw) and cut the dickson shape in a long length, then cut it into bits? I would have thought that faster, and less likely to have any errors. Material permitting of course.
I have wondered about this stuff Black Oxide Kit and how well it wears....seeing something else on the site reminds me of something else i should post.....1915 17"x50" LeBlond heavy duty Lathe, 24" Queen city shaper, 1970's G Vernier FV.3.TO Universal Mill, 1958 Blohm HFS 6 surface grinder, 1942 Rivett 715 Lathe, 14"x40" Antrac Lathe, Startrite H225 Bandsaw, 1949 Hercus Camelback Drill press, 1947 Holbrook C10 Lathe.
-
6th April 2013, 11:35 PM #11Dave J Guest
From memory the strips wouldn't fit in my vice the way I wanted and then I had the small strip from the center, so it was just easier to do them separate instead of having different set ups. The 2 odd size ones (red and blue) where bad enough to muck around with.
I bought the full set of rippa end mills back a few years ago and they are great.
I have seen those kits, but an either leaning toward a home nickle kit from Newcastle or taking the to the chrome platers and have nickle applied there.
Dave
-
6th April 2013, 11:43 PM #12
SENIOR MEMBER
- Join Date
- Apr 2012
- Location
- Healesville
- Posts
- 599
A lot of effort there and very nice work Dave,
-
7th April 2013, 12:11 AM #13
.
- Join Date
- Nov 2008
- Location
- Perth WA
- Age
- 71
- Posts
- 5,641
I need a lay down after looking at all that Dave, FM! What a job!
-
7th April 2013, 07:10 AM #14
SENIOR MEMBER
- Join Date
- Sep 2011
- Location
- Ballarat
- Age
- 65
- Posts
- 2,656
That is some awesome work Dave, not to mention the amount of work in posting the thread.
The best part for all of us is, you are 'back in the saddle'.
I have said it before Dave, and I'll say it again "you are an asset to this forum".
Phil
-
7th April 2013, 07:22 AM #15
Philomath in training
- Join Date
- Oct 2011
- Location
- Adelaide
- Age
- 59
- Posts
- 3,148
Great effort there Dave. In one thread you have reminded me why I didn't go for the Dickson QCTP system - they have that extra level of complexity if you want to make your own tool holders. We might have to try and arrange a test to see if that complexity gives better repeatability than the Aloris style.
Next time, I have a tapping head which you can borrow for the 230 tapped holes.
Michael


 Members who have read this thread: 0
There are no members to list at the moment.